How to Bulk Upload Employees
Bulk uploading lets you add many employees at once by importing a CSV file. This is faster than creating each employee individually and is ideal for onboarding a large group at the same time.
CSV Template Columns
Section titled “CSV Template Columns”Your CSV file must include the following columns (header row required):
| Column | Description |
|---|---|
FirstName | Employee’s first name |
LastName | Employee’s last name |
FullName | Employee’s full display name |
Email | Employee’s email address (must be unique) |
IdentificationNumber | National ID or passport number (must be unique) |
DepartmentName | Must match an existing department name in the system |
JobTitle | Employee’s job title |
UserRankName | Employment type (e.g. Full Time, Part Time) |
RoleName | System role (e.g. Employee, Supervisor, HOD) — must match a role defined in Settings → Roles |
Currency | Salary currency code (e.g. SGD, MYR) |
BasicSalary | Employee’s basic salary amount |
-
Navigate to the Employees List
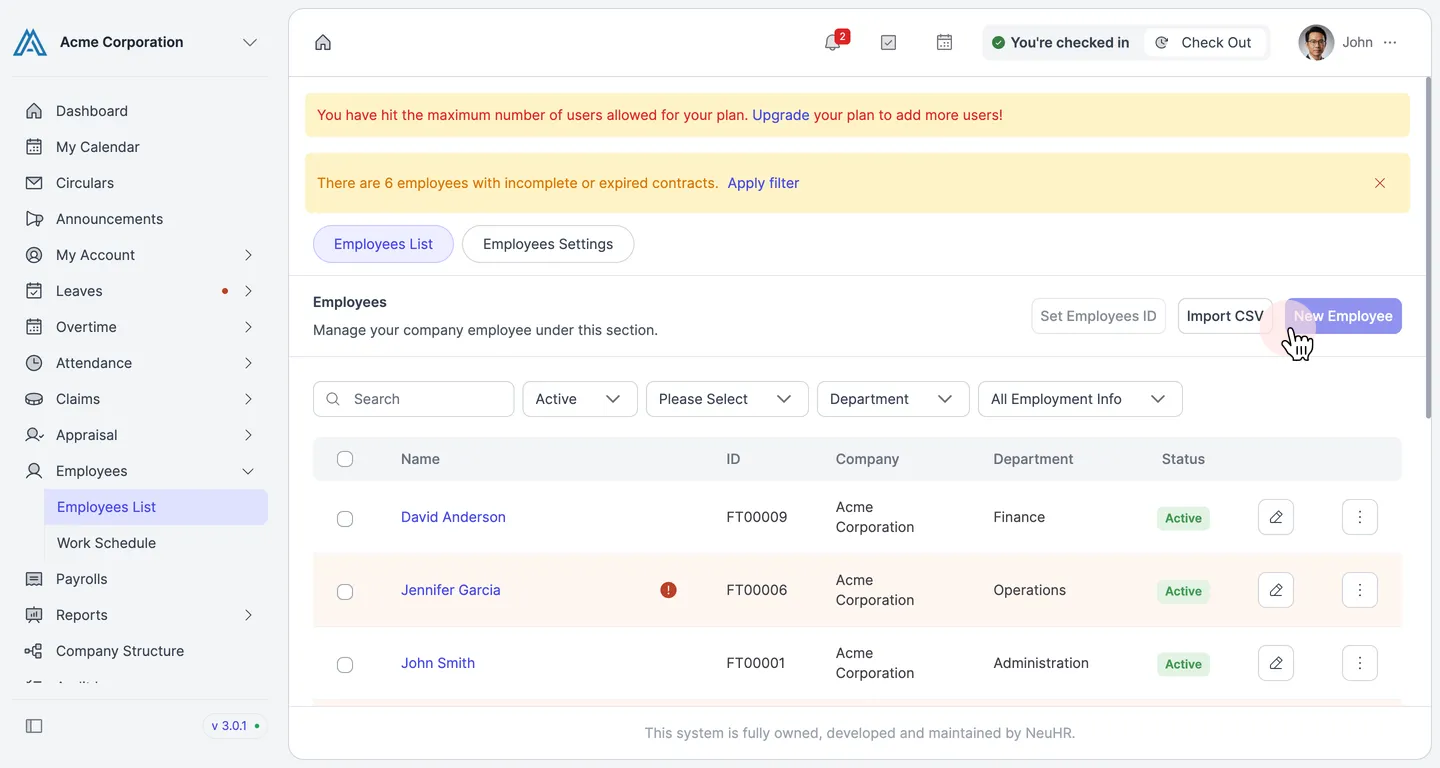
Section titled “Navigate to the Employees List”In the left sidebar, click Employees, then select Employees List.
On the Employees page, click the Import CSV button in the top-right area.
-
Download the CSV template (if needed)
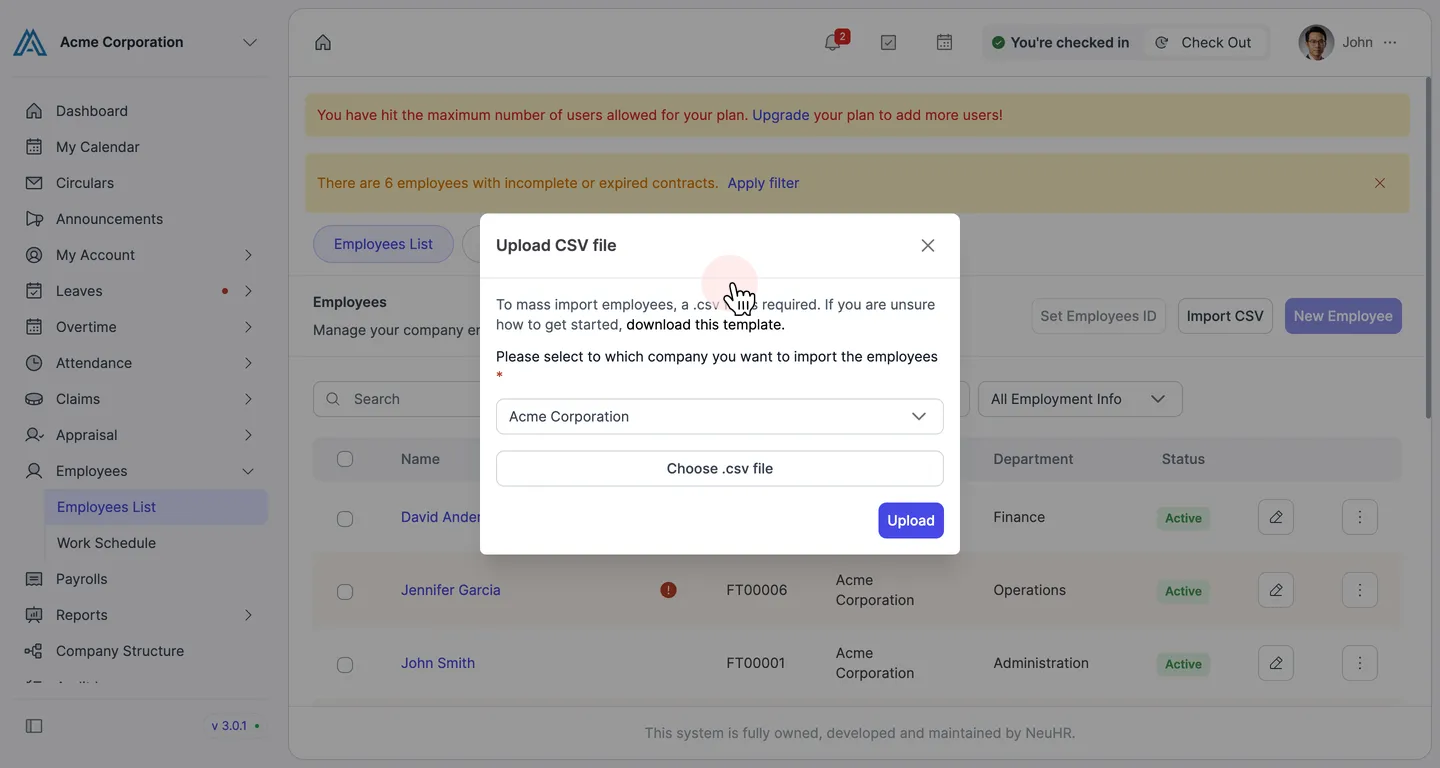
Section titled “Download the CSV template (if needed)”The Upload CSV file dialog opens. If you don’t have a CSV file ready, click download this template to get the official template with the correct column headers.
-
Select the target company and choose your CSV file
Section titled “Select the target company and choose your CSV file”Use the company dropdown to select which company to import employees into. Then click Choose .csv file to open the file picker and select your prepared CSV file.
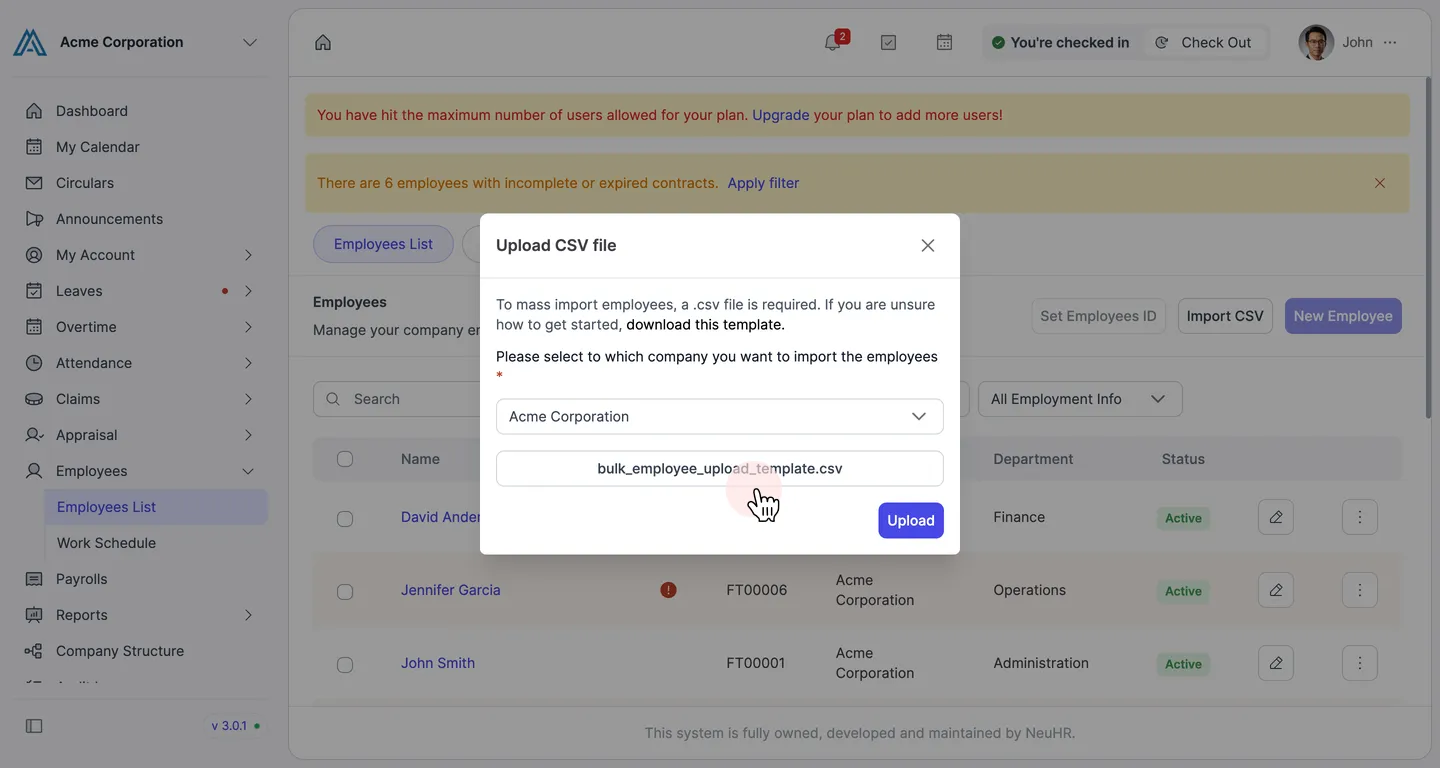
Once the file is selected, its filename will appear in the file field. Verify the company and filename are correct, then click the Upload button.
-
Review the employee preview
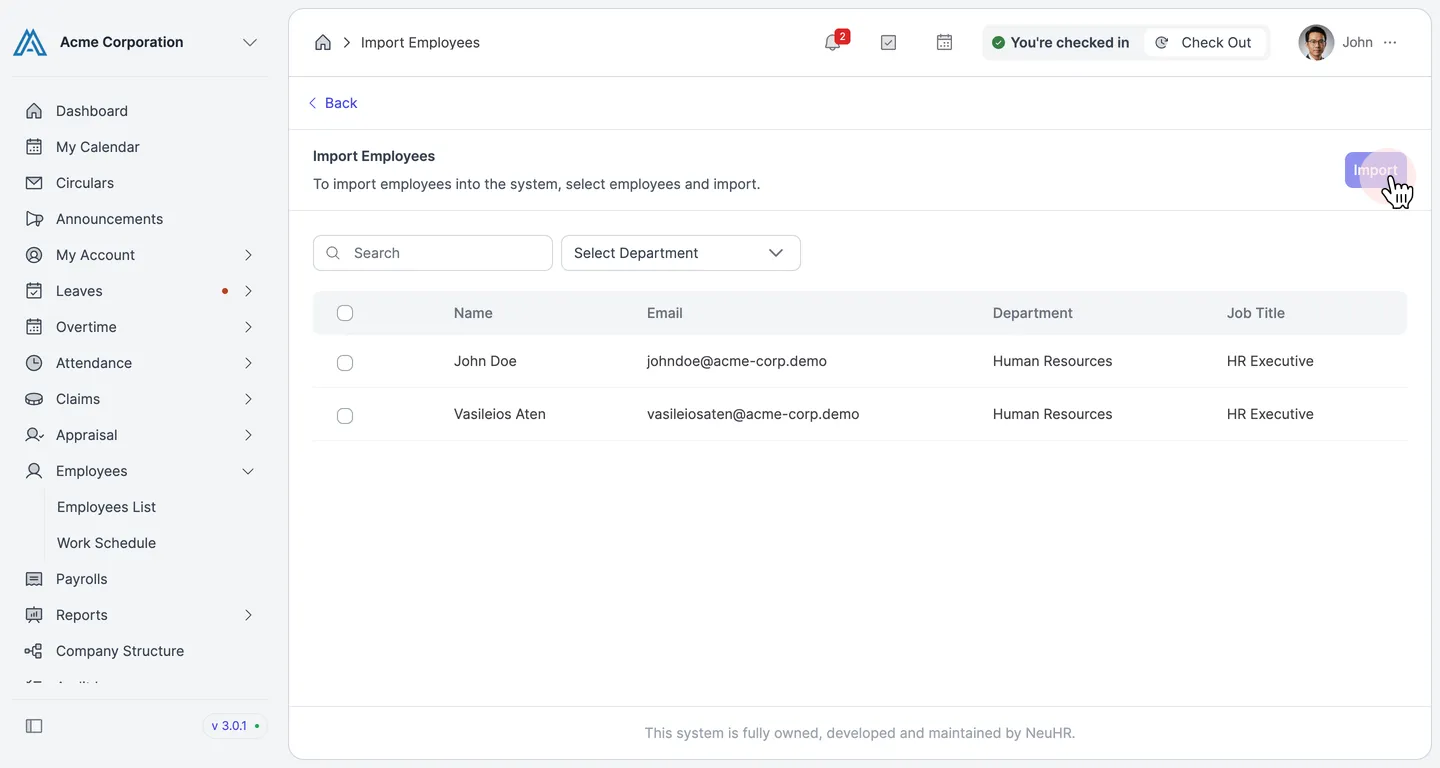
Section titled “Review the employee preview”NeuHR validates and parses the CSV file and displays a preview list of all employees to be imported. Review the names, emails, departments, and job titles to make sure they are correct.
-
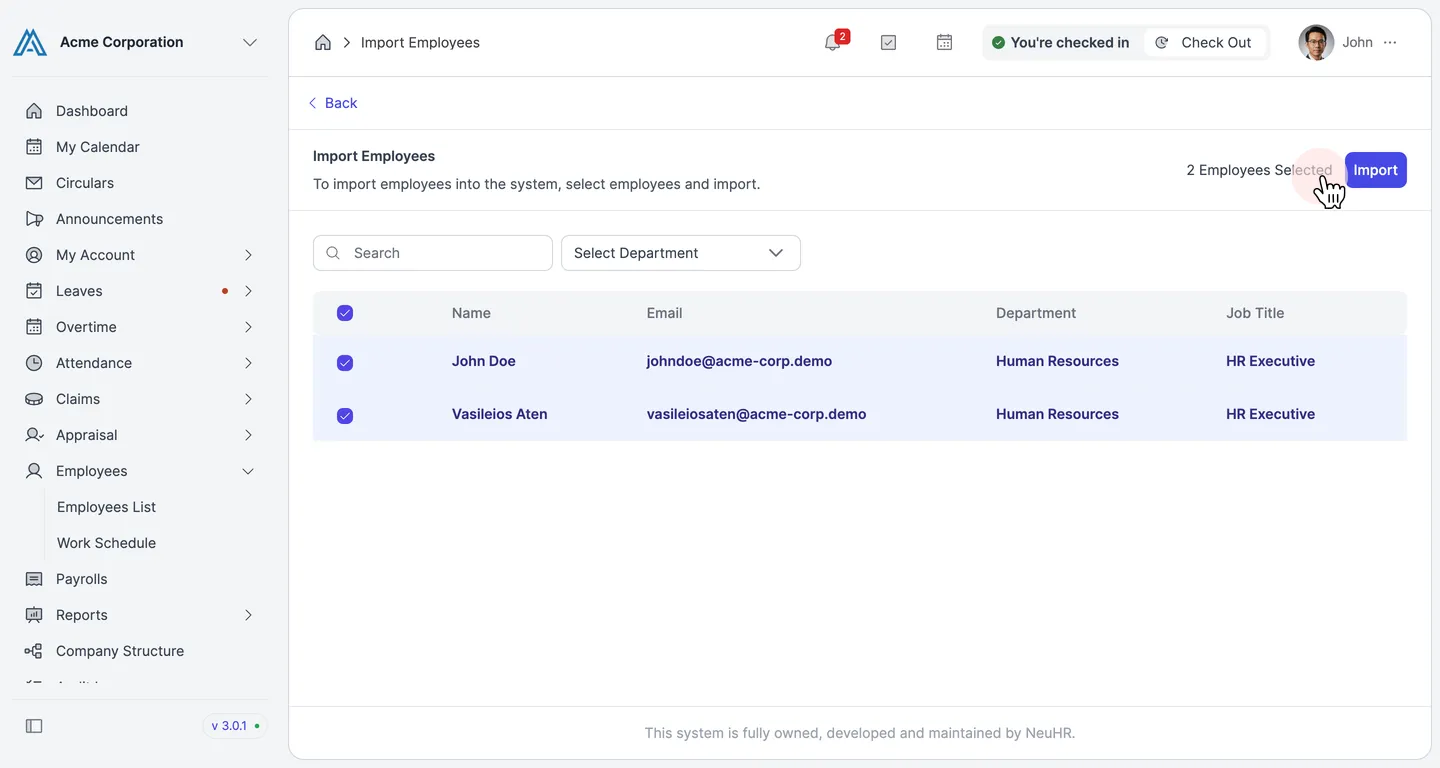
Select employees and click Import
Section titled “Select employees and click Import”Use the checkbox at the top of the list to select all employees, or select individual rows. The count of selected employees is shown next to the Import button. Click Import to proceed.
-
Confirm the import
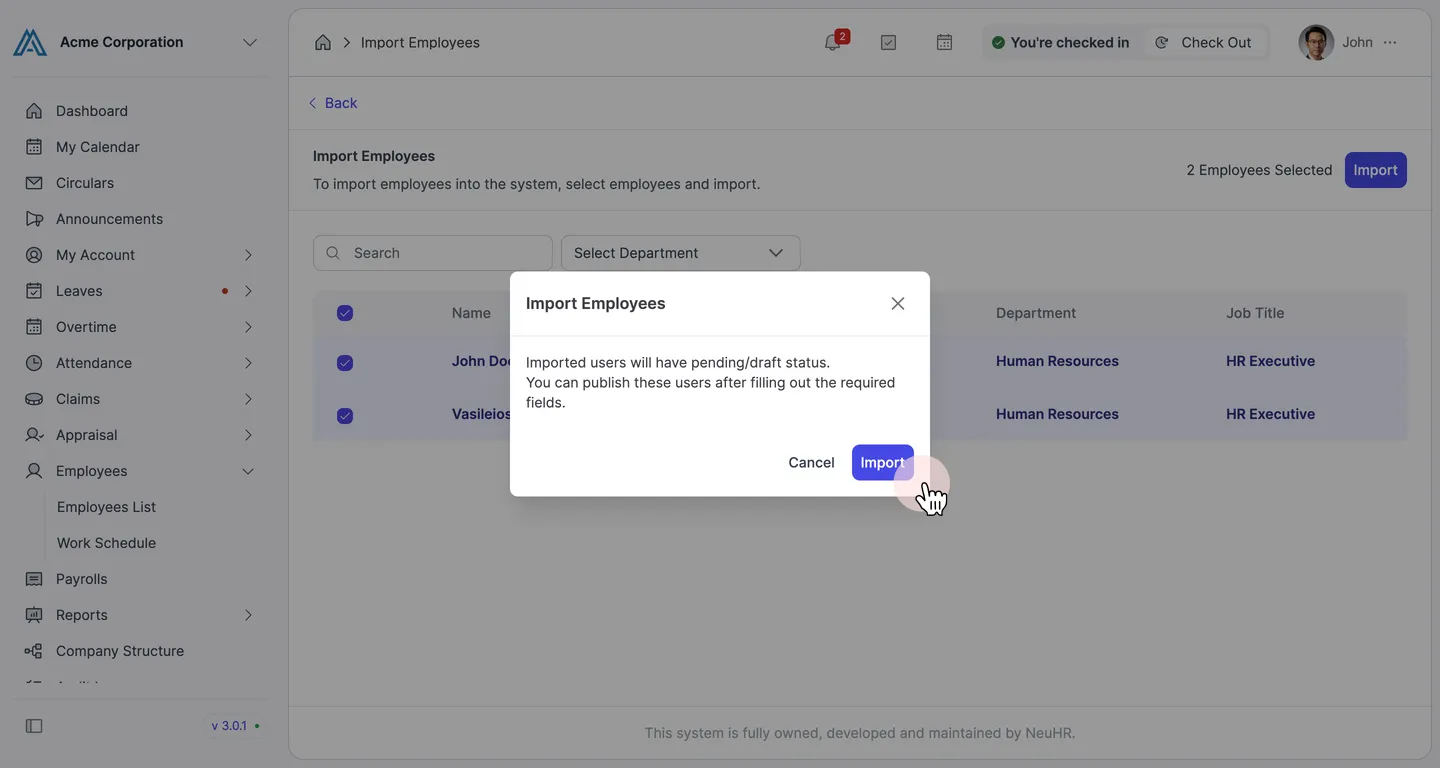
Section titled “Confirm the import”A confirmation dialog will appear informing you that imported employees will be created with pending/draft status. You will need to complete their profiles and publish their accounts before they can log in.
Click Import to confirm.
-
Filter by Draft to find imported employees
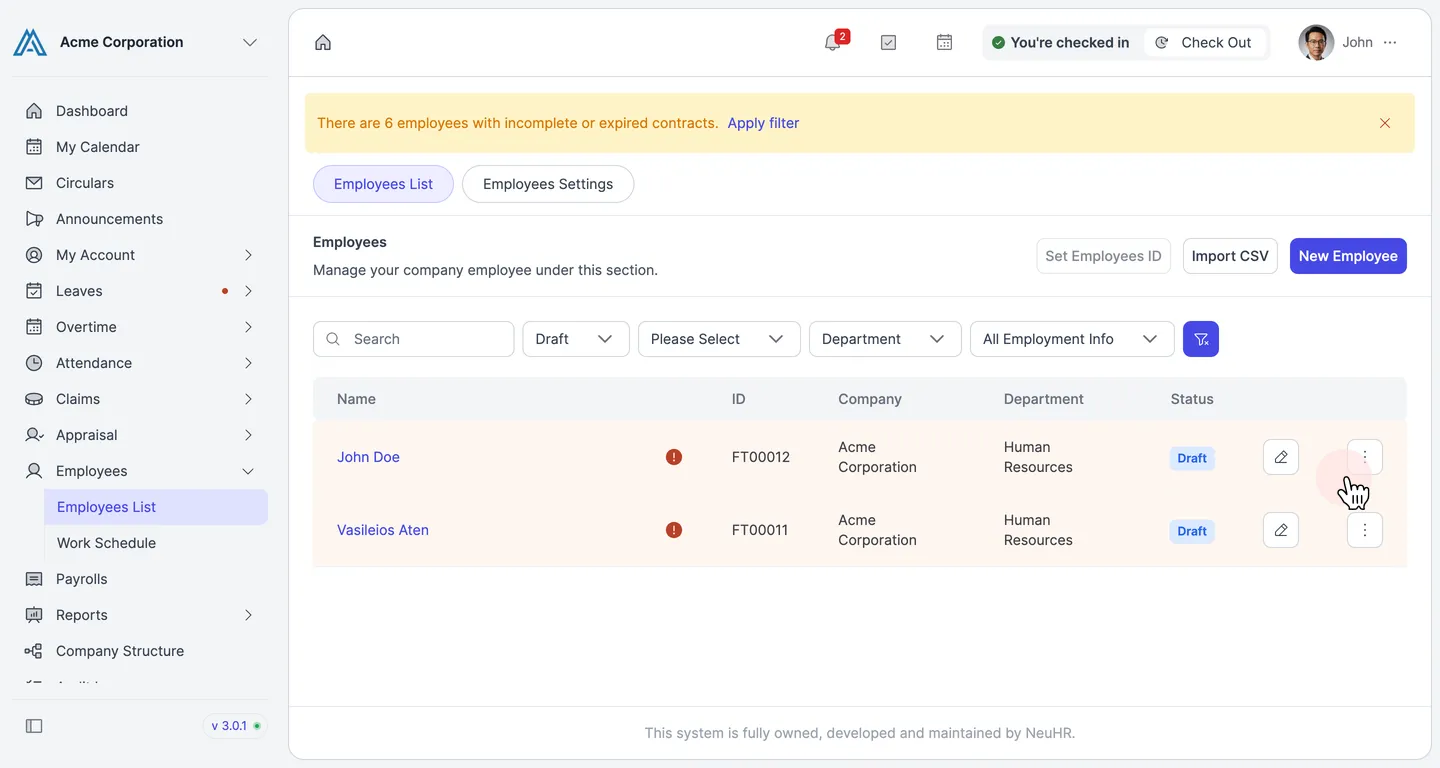
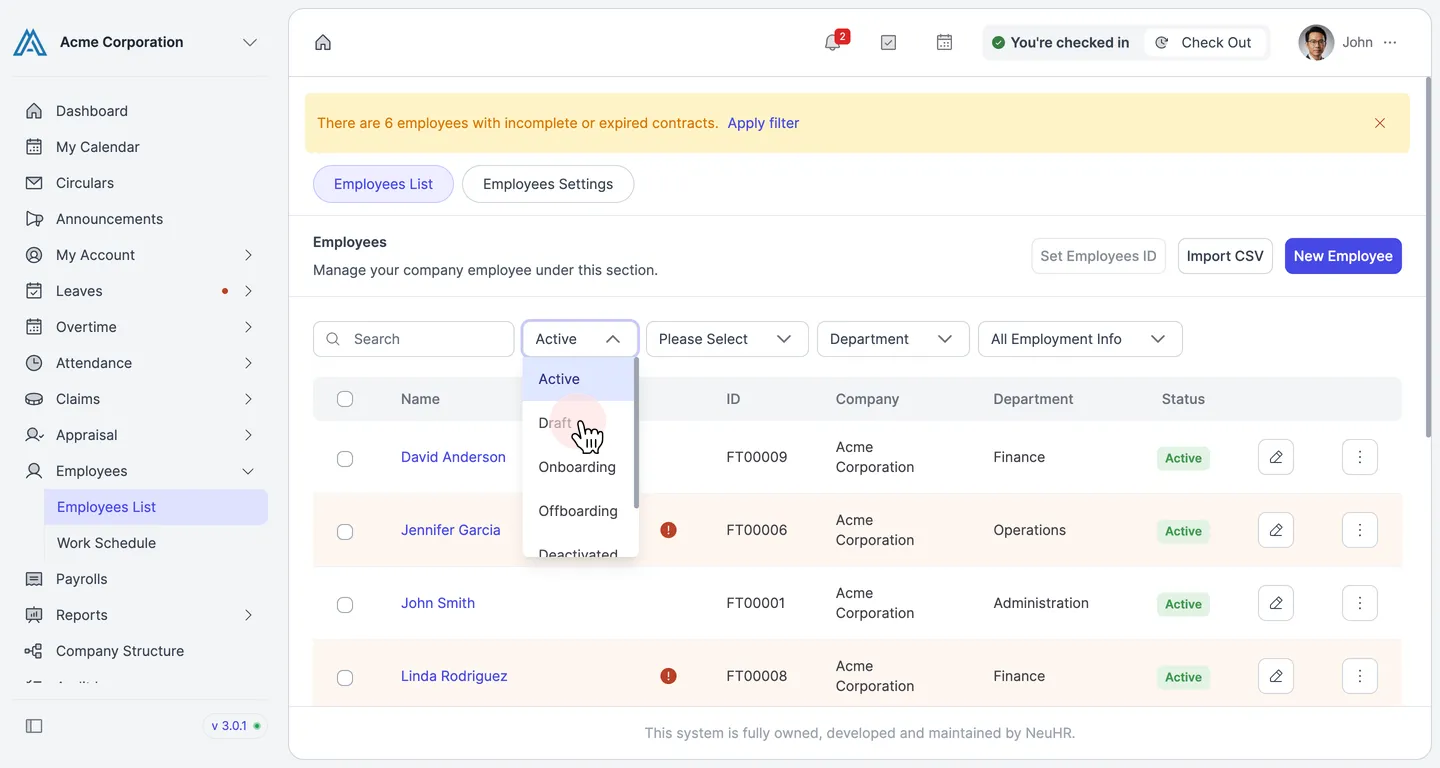
Section titled “Filter by Draft to find imported employees”Go to Employees List. The imported employees will not appear under the default Active filter. Click the status dropdown (which shows Active) and select Draft to show only draft employees.
-
Open each draft employee and complete their profile
Section titled “Open each draft employee and complete their profile”The list now shows all employees with Draft status — including those just imported. Click the pencil icon on a draft employee’s row to open their edit form and fill in any missing required fields.
Once all required fields are complete, click Publish User to activate the account and allow the employee to log in.