How to Add New Employee
-
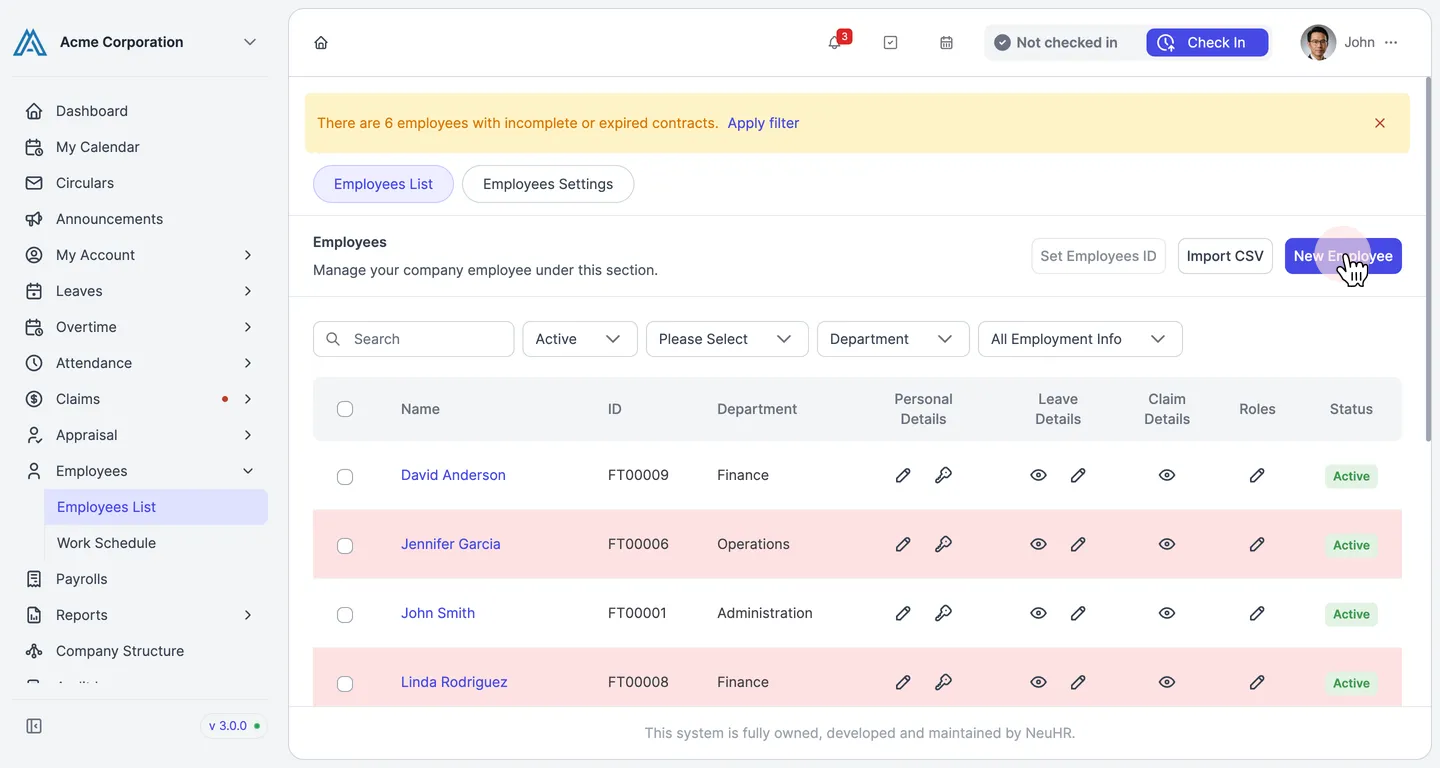
Go to Employees List and click New Employee.
From the left sidebar, navigate to Employees → Employees List. Click the New Employee button in the top-right corner.
-
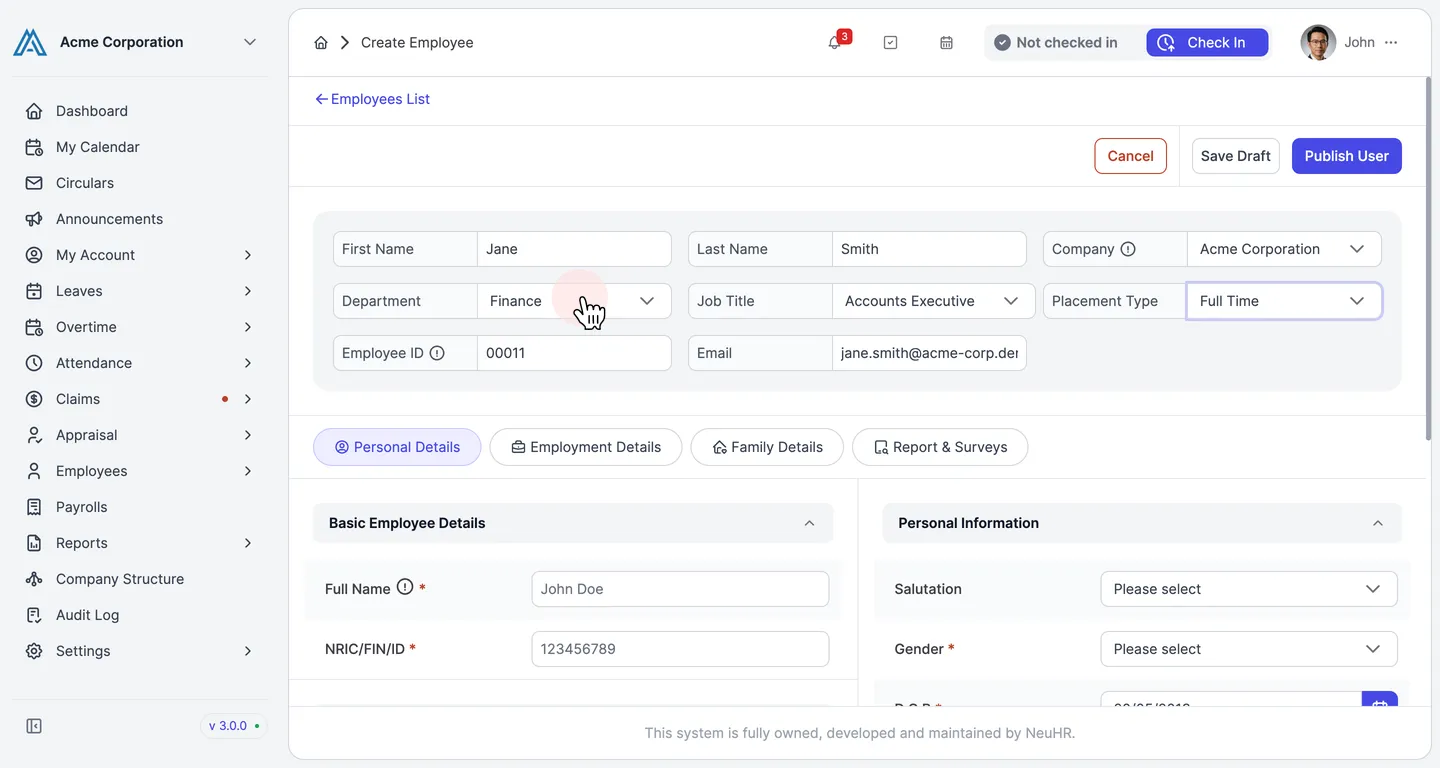
Fill in the basic employee information.
Complete the required fields in the header section of the form:
- First Name and Last Name
- Company — select your organisation
- Department — choose the employee’s department
- Job Title — select or enter the job title
- Placement Type — e.g. Full Time, Part Time
- Employee ID — auto-generated or enter manually
- Email — the employee’s work email address
-
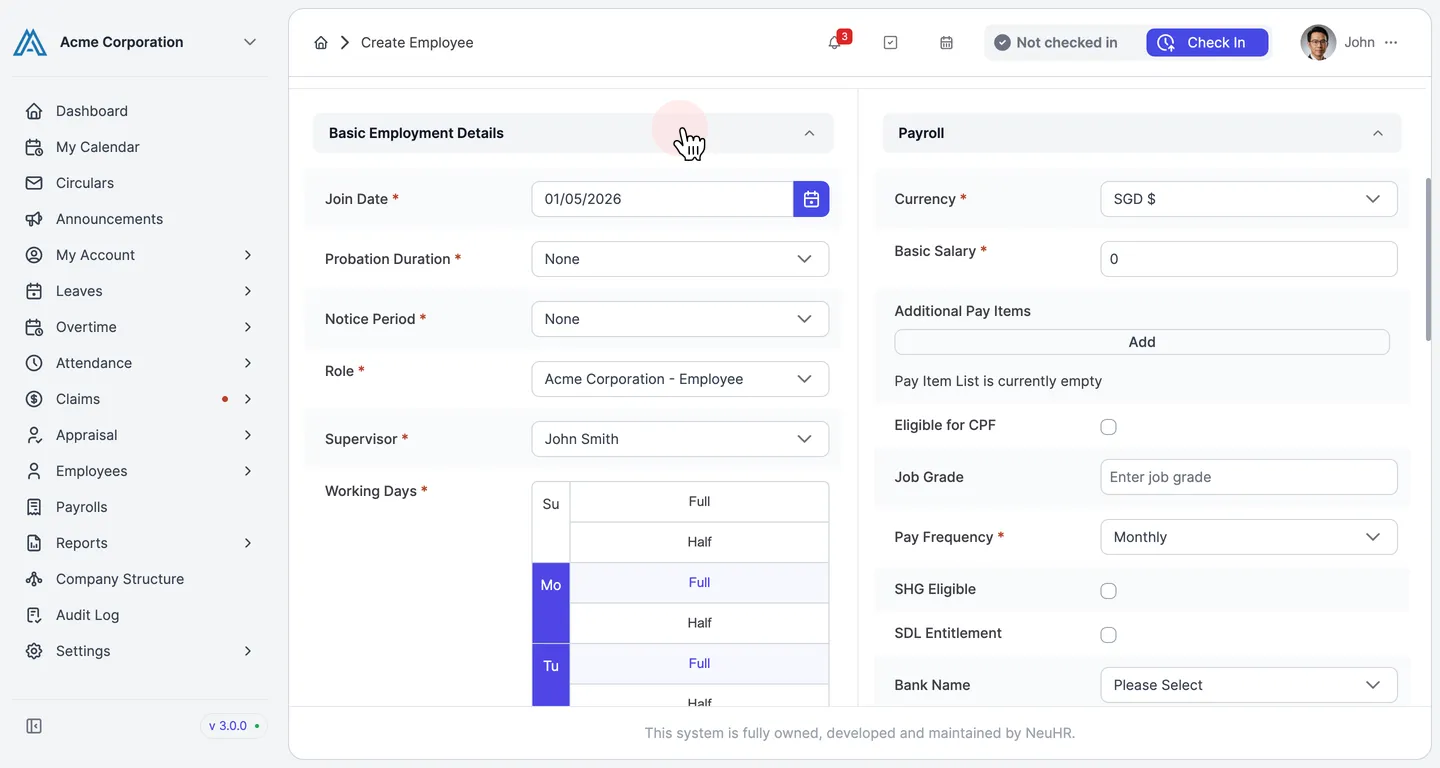
Complete required fields on the Employment Details tab.
Click the Employment Details tab and fill in all required fields (marked with *):
- Join Date — the employee’s start date
- Role — select the employee’s system role (e.g. Employee)
- Supervisor — assign a supervisor
- Pay Frequency — e.g. Monthly
Note: The Personal Details and Family Details tabs also contain required fields. Complete all tabs before publishing, including Full Name, NRIC/FIN/ID, Contact Number (with country code), Residential Address, Gender, Date of Birth, Nationality, Residency Status, Highest Qualification, and Emergency Contact details.
-
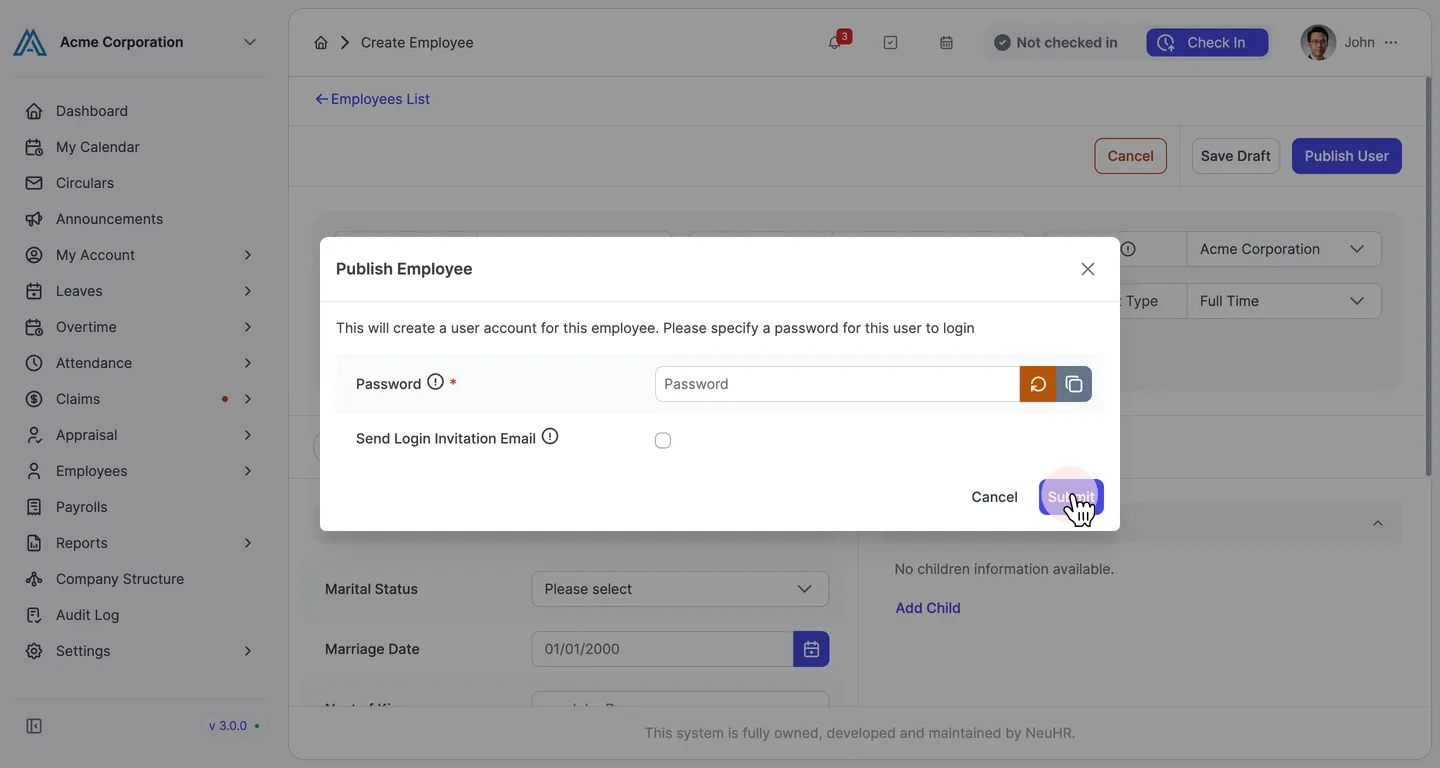
Click Publish User and set a login password.
Once all required fields across all tabs are filled, click the Publish User button at the top of the form. A dialog will appear — enter a password for the employee’s login account, then click Submit.
To save the employee profile without creating a login account yet, click Save Draft instead.
-
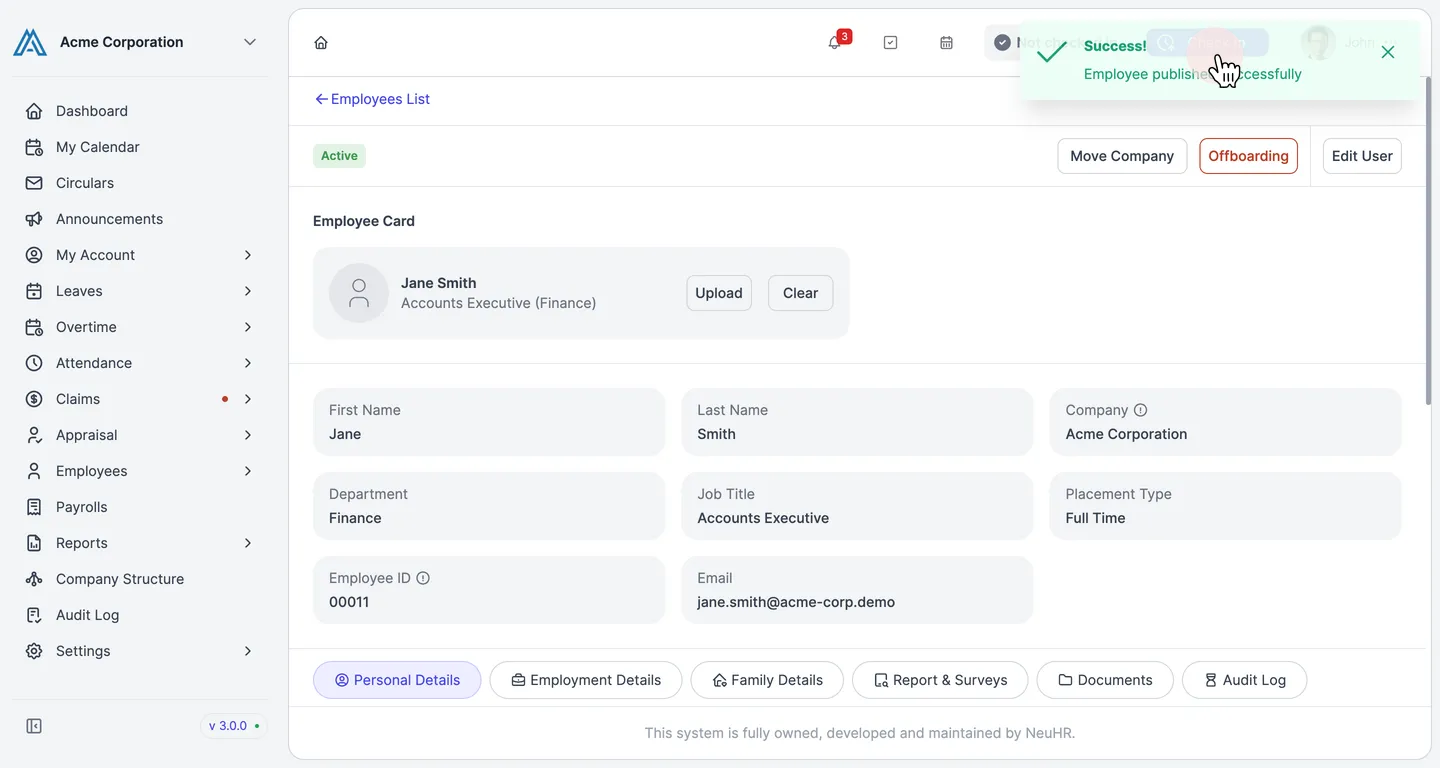
Employee published successfully.
The system will redirect you to the new employee’s profile page and display a success message confirming the employee account has been created.