How to Upload a Document in a Document-Required Leave with No Document Yet
This guide shows you how to upload a supporting document for a leave application that requires one but was submitted without a document.
-
Navigate to Leaves
Section titled “Navigate to Leaves”From the sidebar, click
Leavesto expand the menu.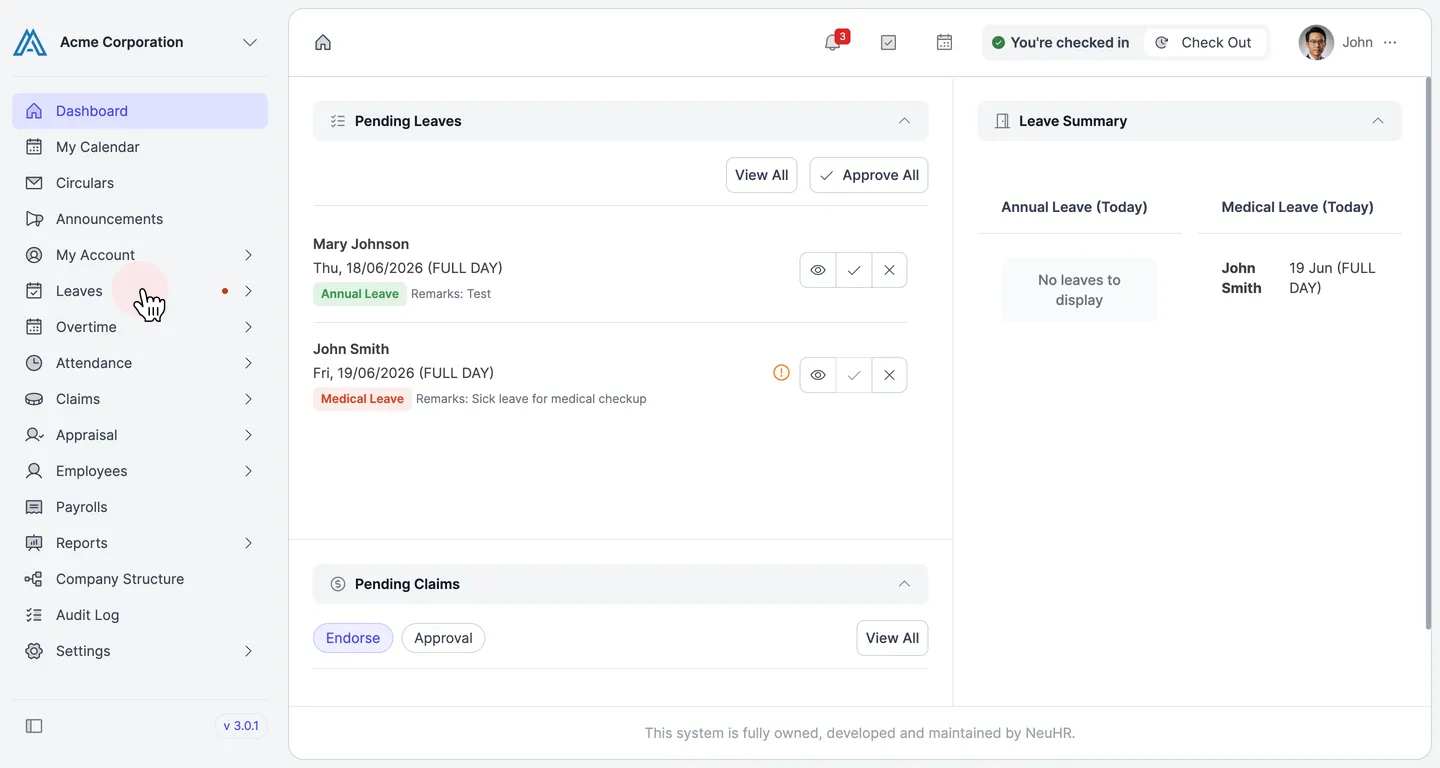
-
Open Balance & History
Section titled “Open Balance & History”Click
Balance & Historyfrom the expandedLeavesmenu.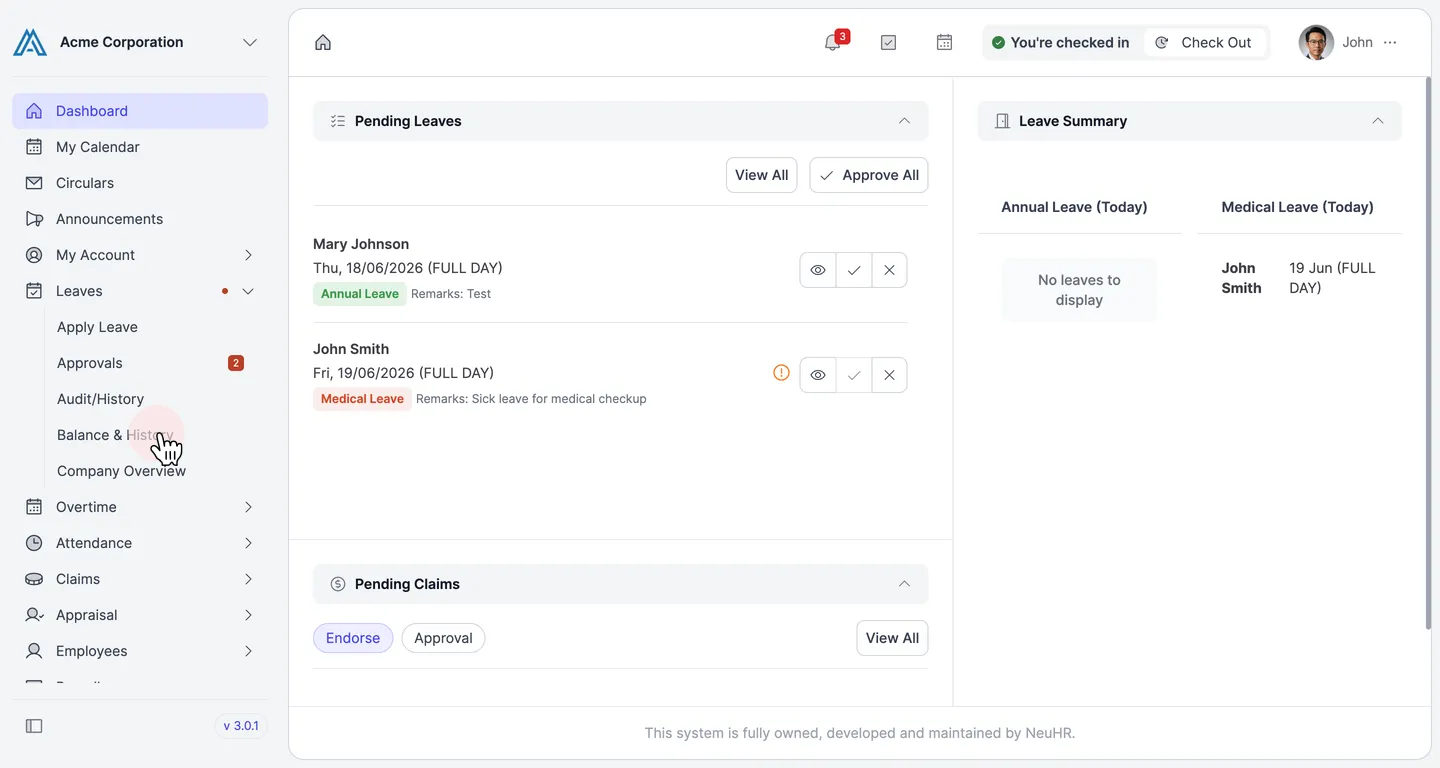
-
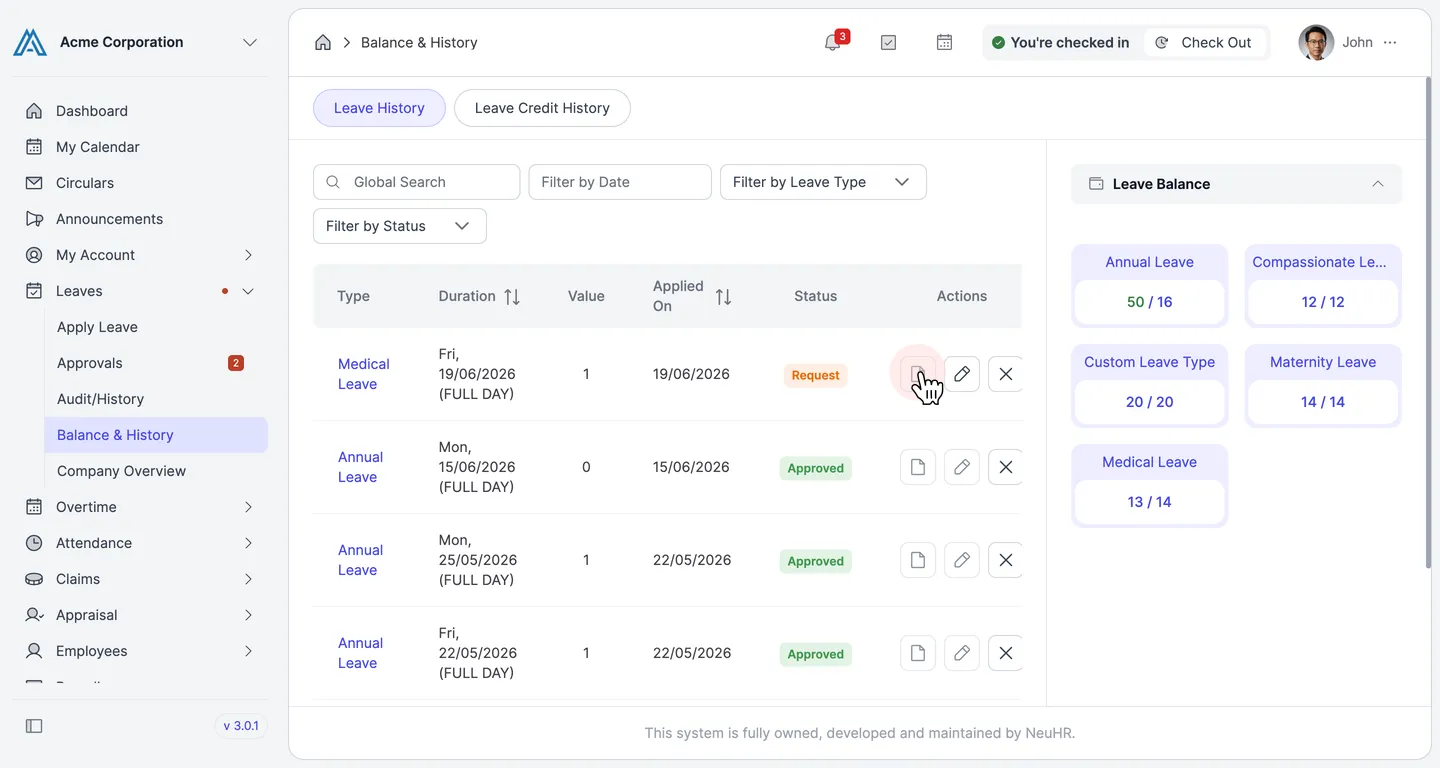
Click the Edit Icon on Your Leave
Section titled “Click the Edit Icon on Your Leave”Locate your leave with Request status. In the Actions column, click the edit icon (pencil) to open the update form.
-
Choose Your Supporting Document
Section titled “Choose Your Supporting Document”On the update form, find the Document Upload section. Click
Choose Fileto select the document from your device.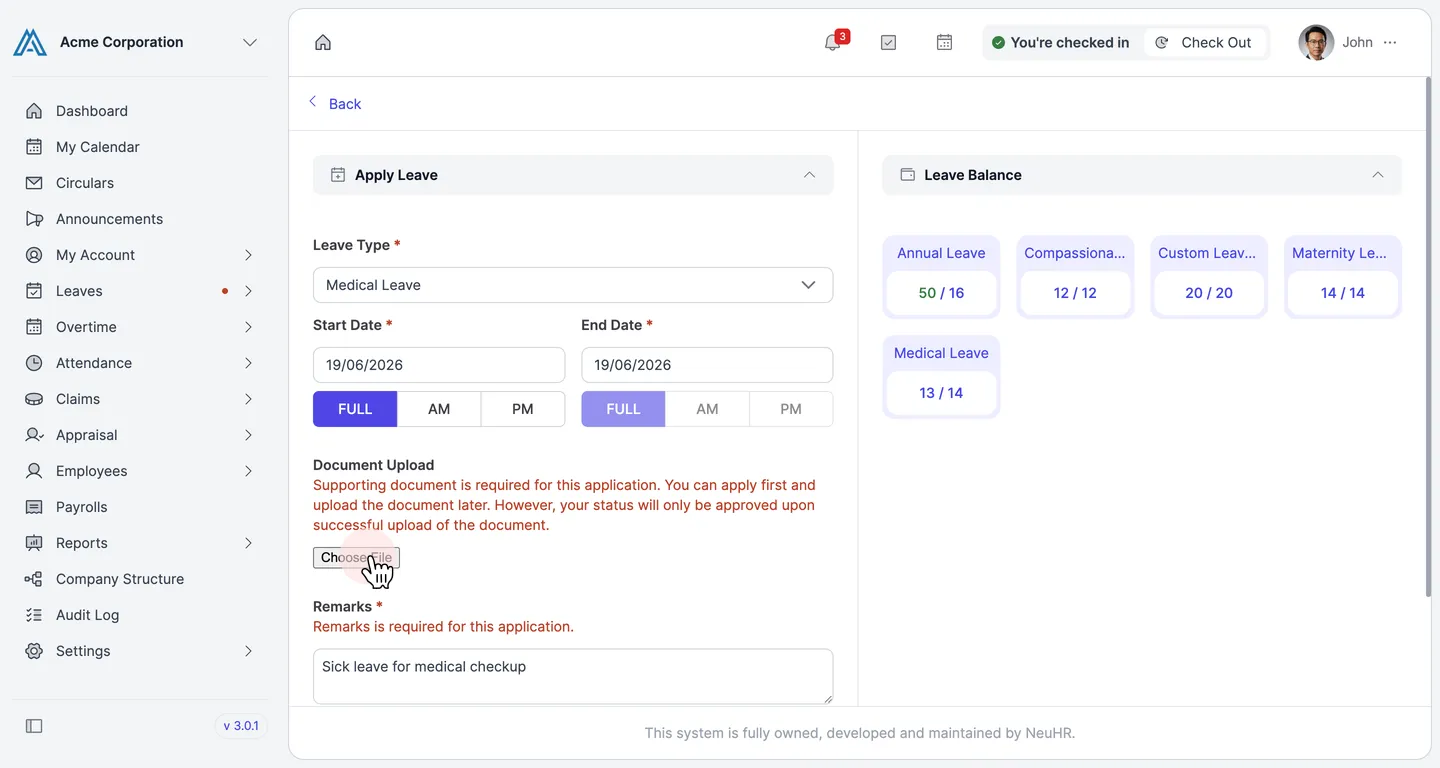
-
Submit the Document
Section titled “Submit the Document”After selecting your file, the filename appears next to
Choose File. ClickUpdateto upload the document and save your changes.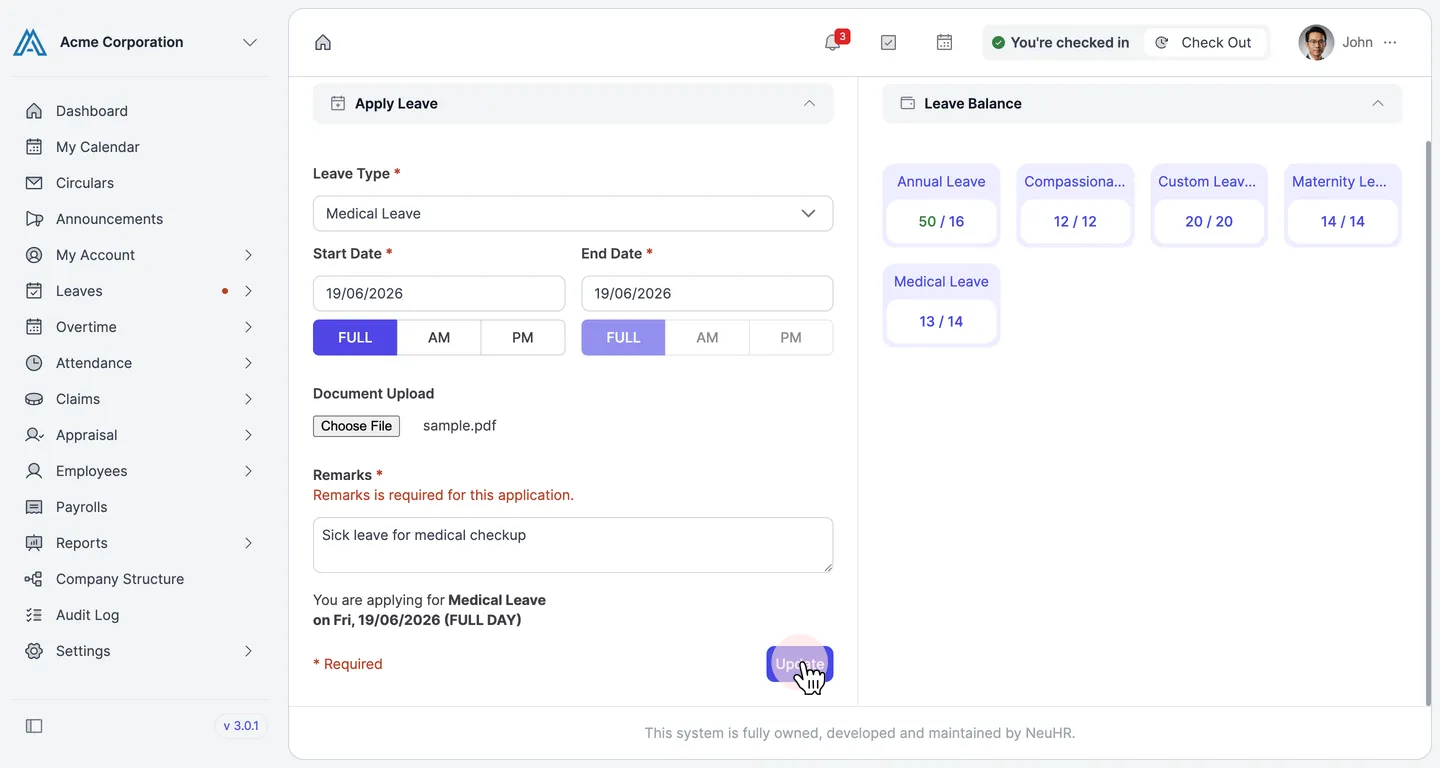
-
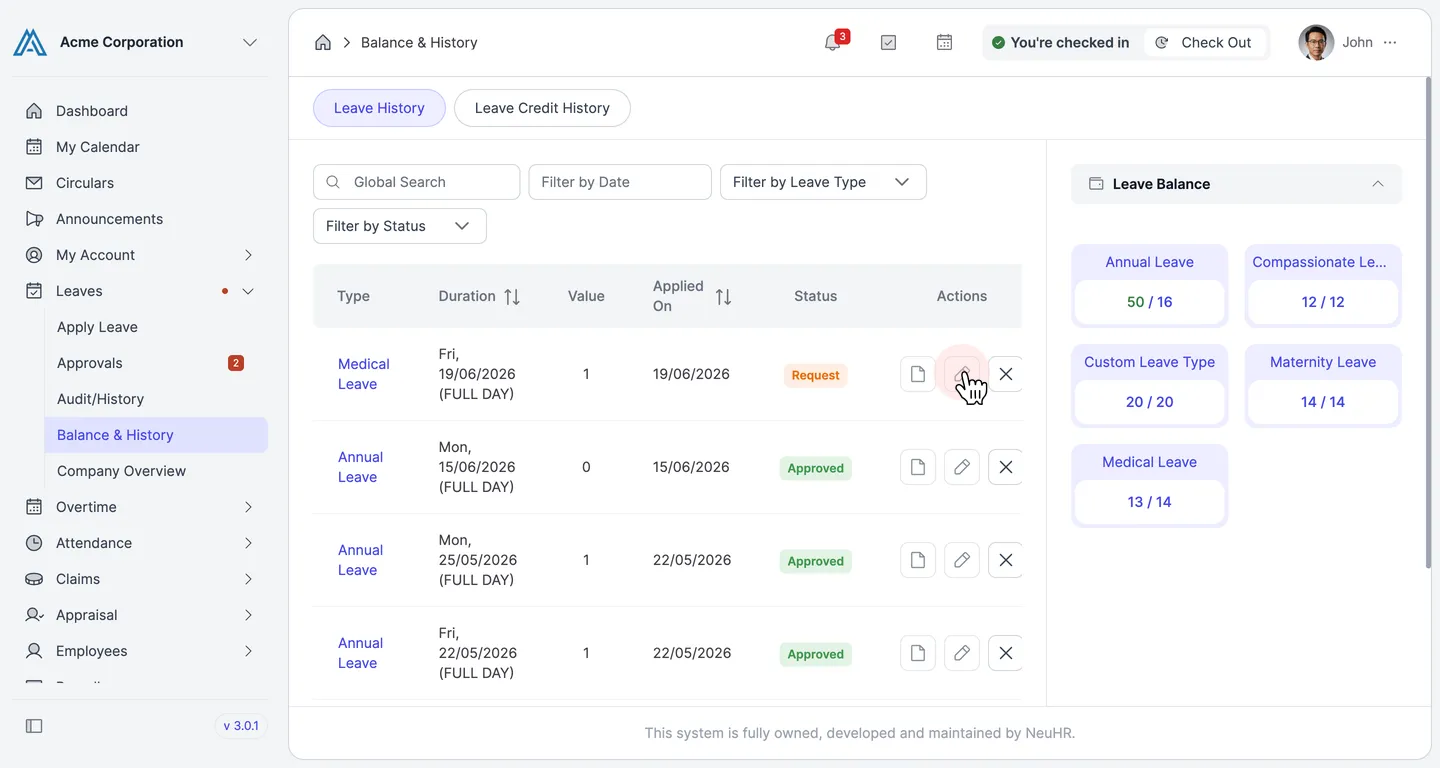
Verify Upload Success
Section titled “Verify Upload Success”You are returned to the Balance & History page. The document icon in the Actions column for your leave is now active, confirming your document has been uploaded successfully. Your leave status remains Request until your approver reviews and approves the application.