How to Apply for Claims
This guide will show you how to apply for a claim in NeuHR to request reimbursement for work-related expenses. Claims can include various categories such as transport, meals, equipment, office supplies, and other approved business expenses.
Prerequisites
Section titled “Prerequisites”- You must have an active employee account
- Your company must have claim categories configured
- You should have receipts or supporting documents for your expenses
Step 1: Navigate to Claims Page
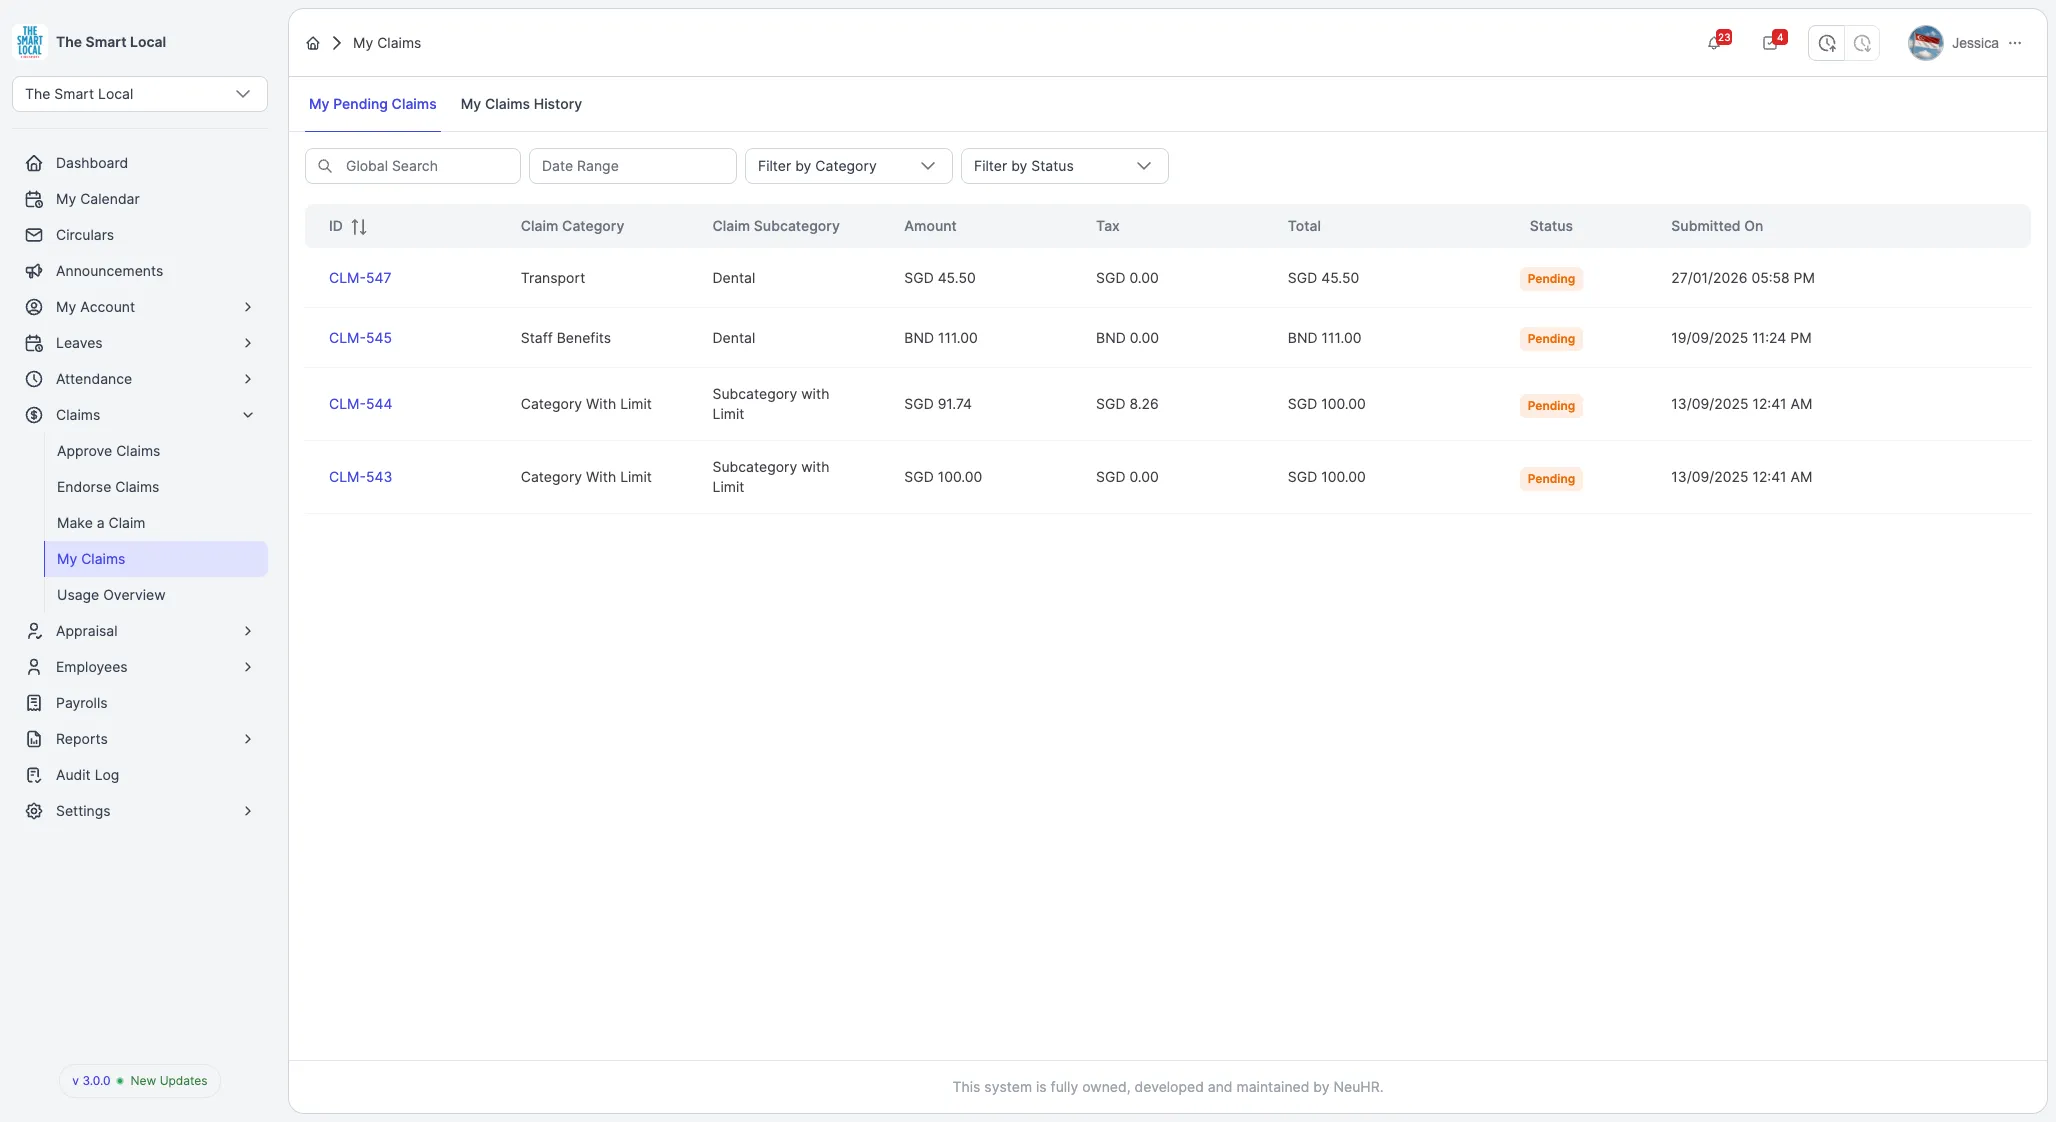
Section titled “Step 1: Navigate to Claims Page”From the main dashboard, click on Claims in the left sidebar to access your claims page.
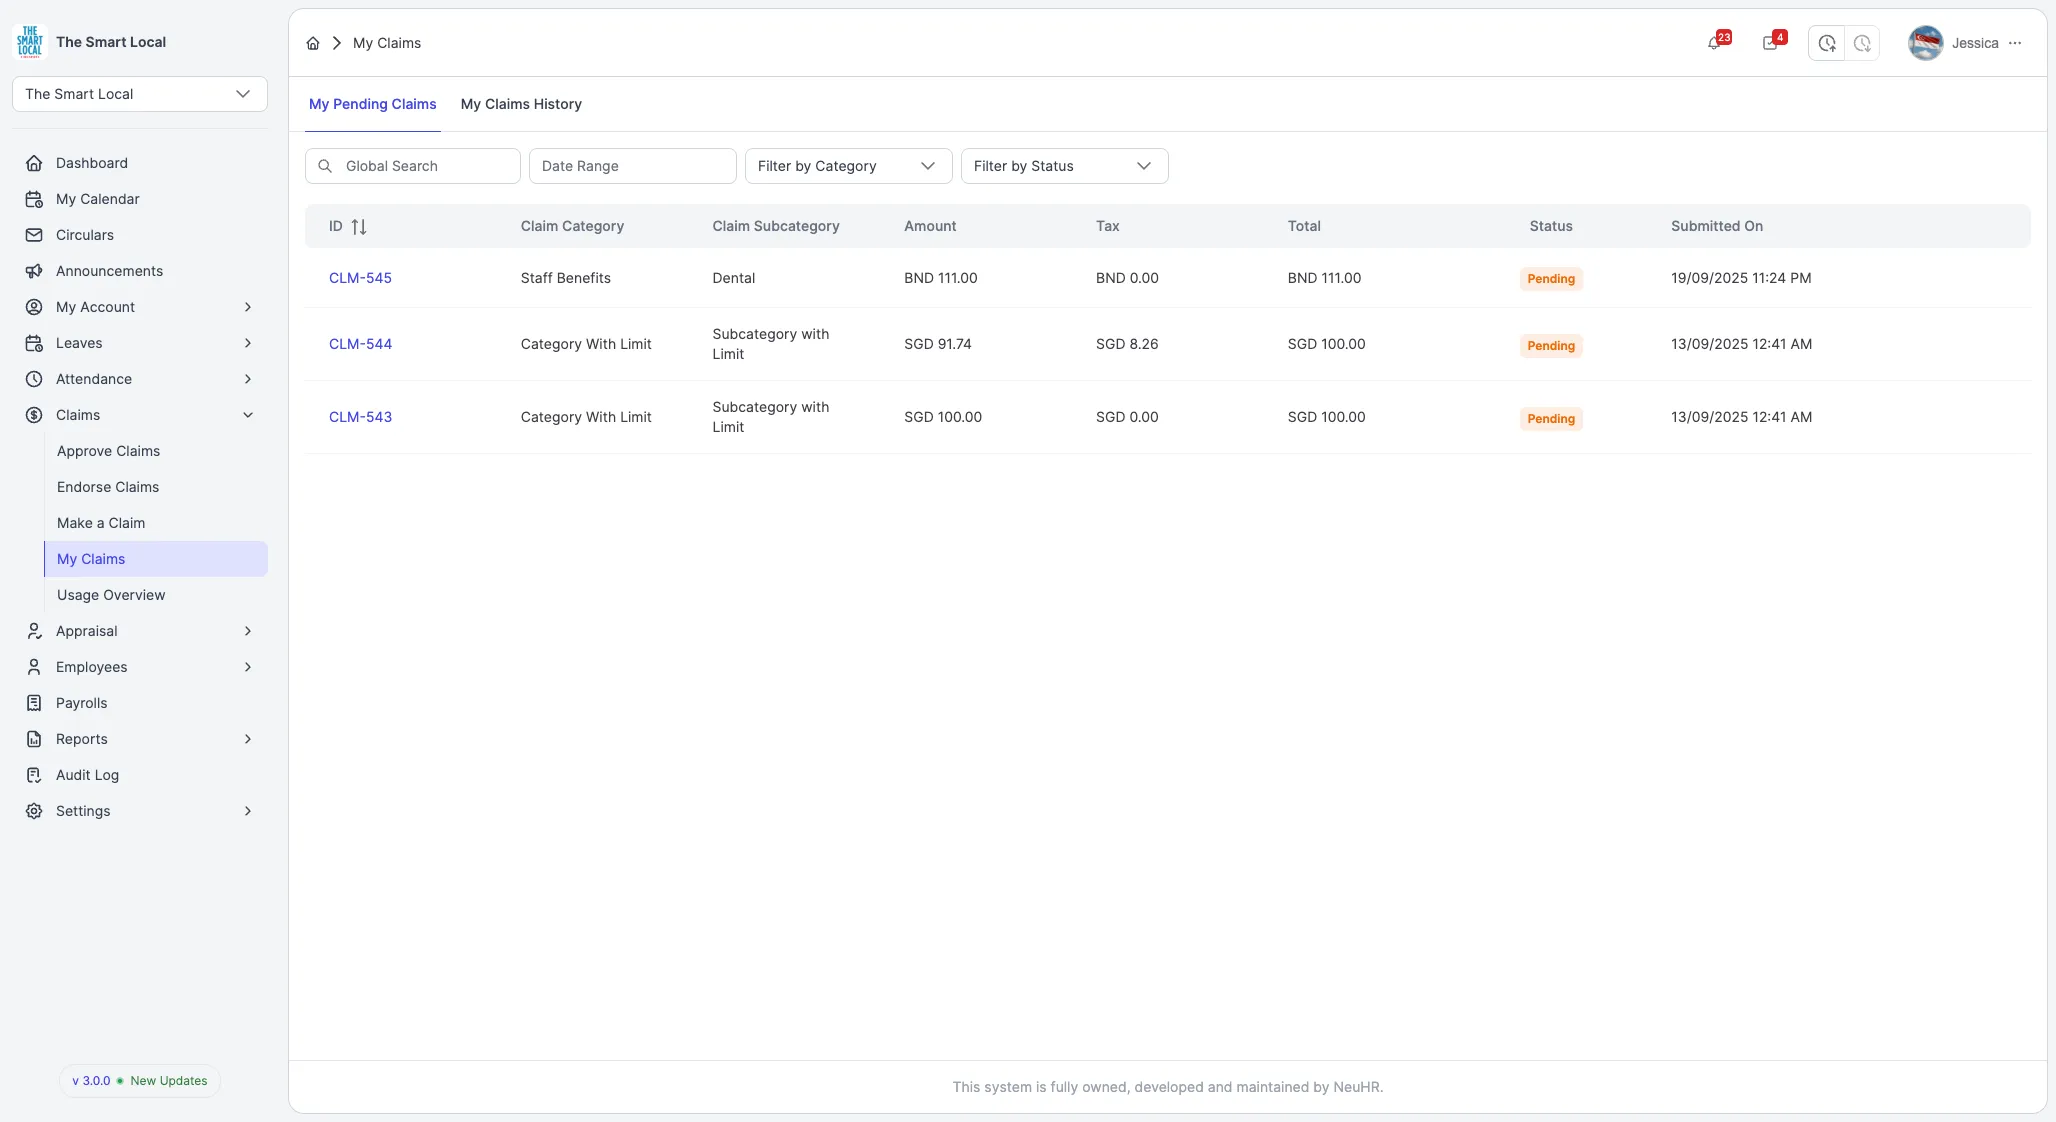
You’ll see your claims dashboard showing any existing claims and their status.
Step 2: Click Apply for New Claim Button
Section titled “Step 2: Click Apply for New Claim Button”On the Claims page, click the Apply for New Claim or New Claim button, typically located in the top right corner.
This will open the claim application form.
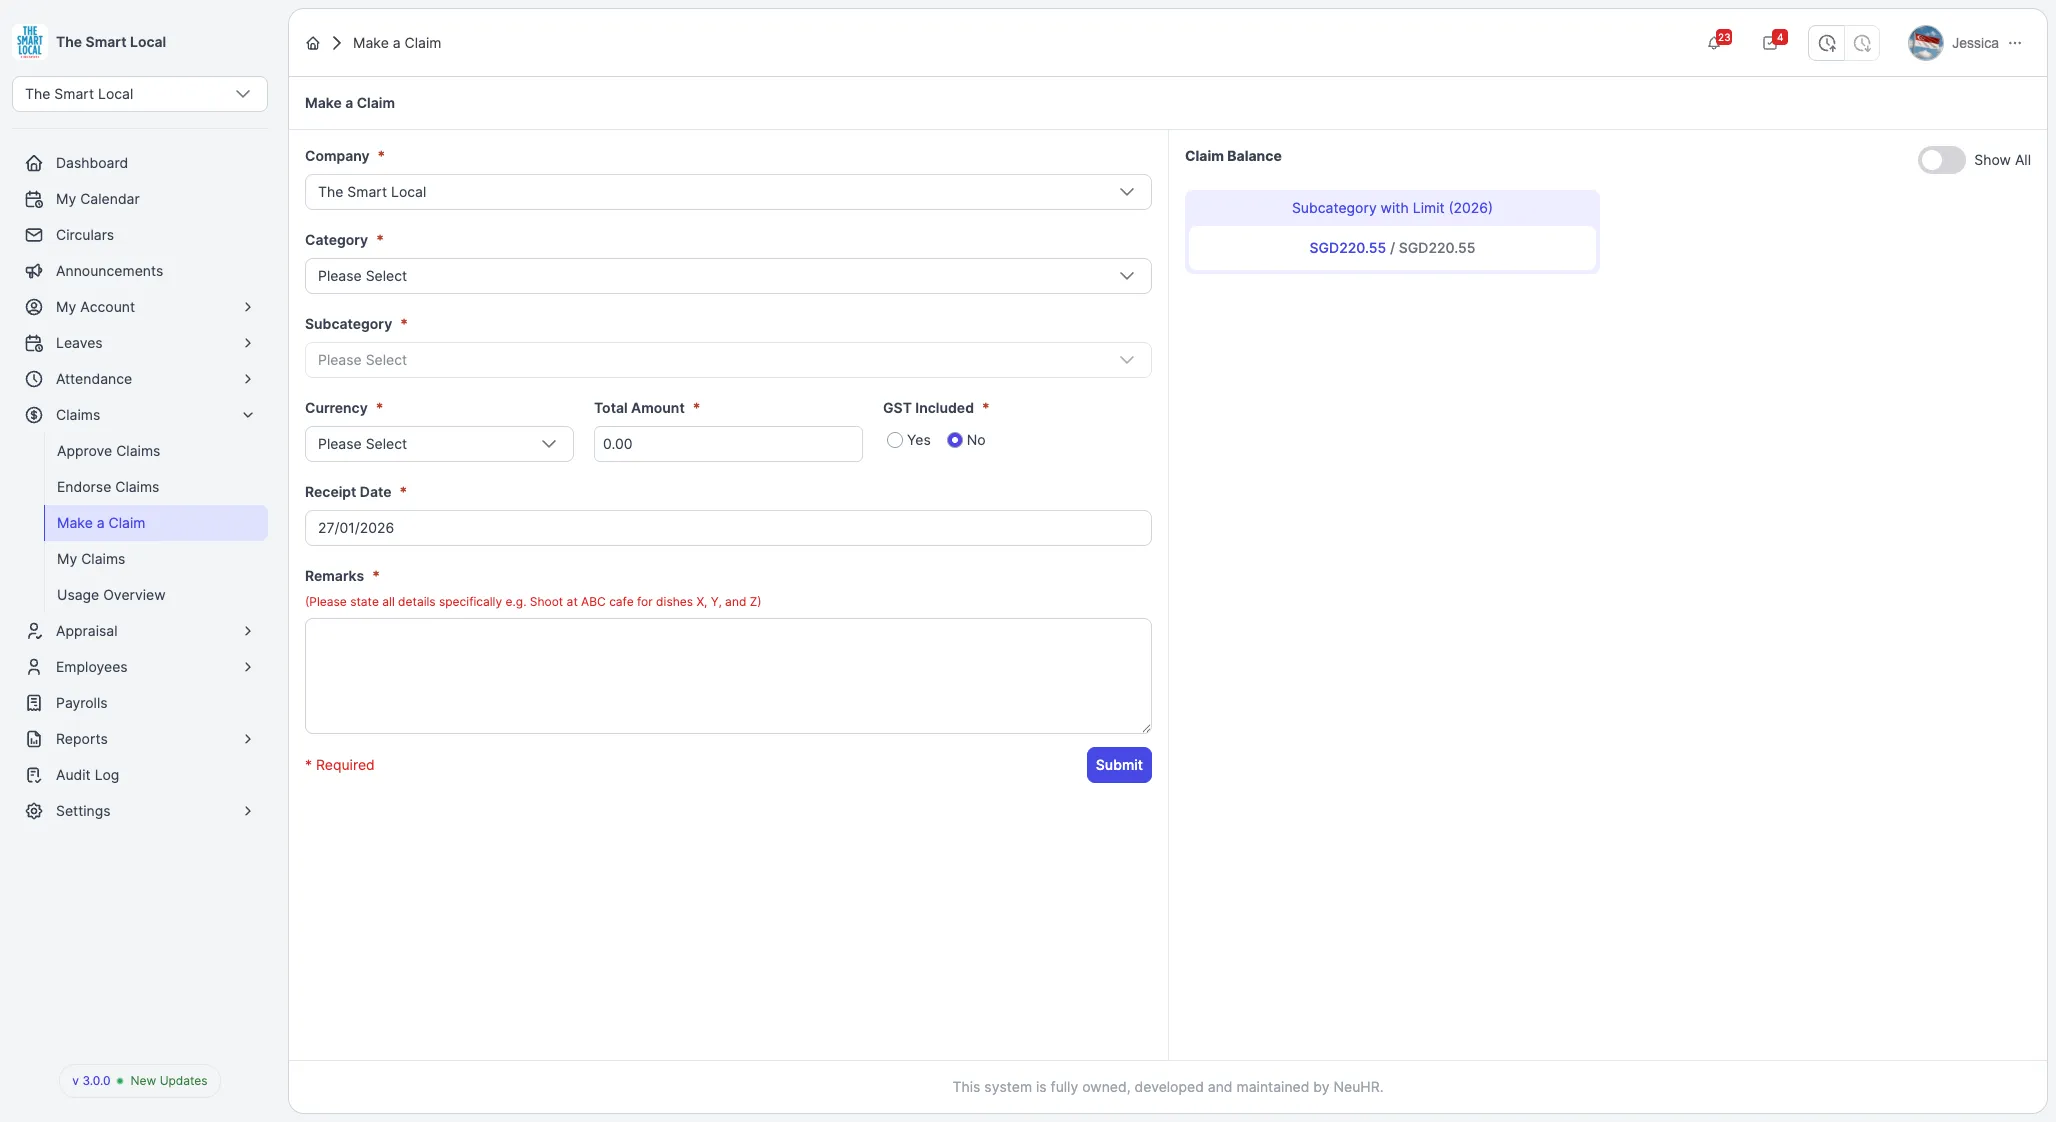
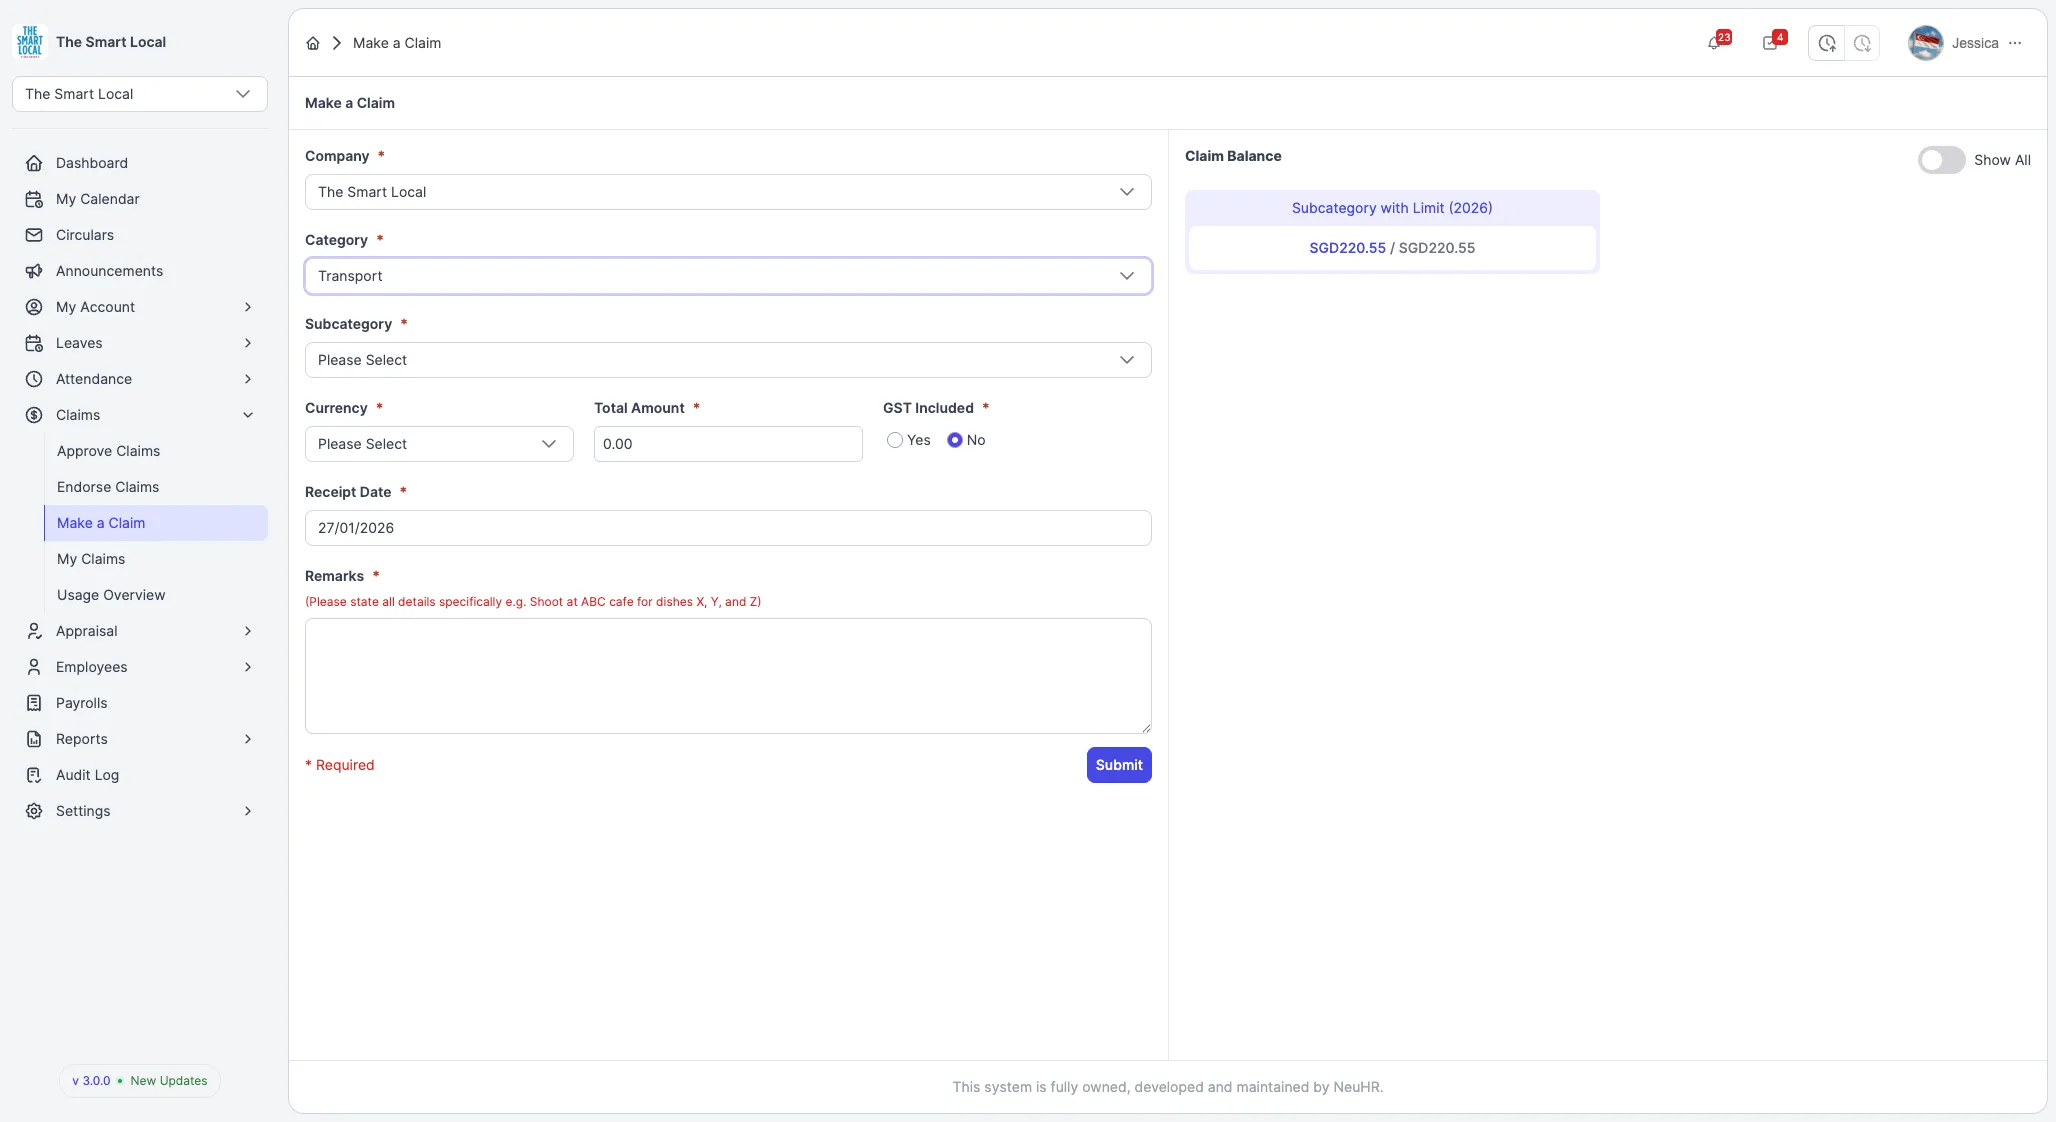
Step 3: Select Claim Category and Subcategory
Section titled “Step 3: Select Claim Category and Subcategory”In the claim form, you’ll need to:
- Category: Select the appropriate claim category from the dropdown (e.g., Transport, Meals, Equipment)
- Subcategory: After selecting a category, choose a more specific subcategory (e.g., Taxi Fare, Client Meeting Lunch)
Different categories may have different claim limits and approval requirements.
Step 4: Fill in Claim Details
Section titled “Step 4: Fill in Claim Details”Enter all required information about your claim:
- Claim Date: The date when the expense occurred (required)
- Amount: The total amount you’re claiming (required)
- Currency: Select the currency if multiple options are available
- Description: Provide details about the expense - what it was for, where, and why (required)
- Remarks: Any additional notes or context (optional)

Tip: Be specific in your description. For example: “Taxi from office to client meeting at ABC Corp on January 15, 2026” is better than just “Transport”.
Step 5: Upload Supporting Documents
Section titled “Step 5: Upload Supporting Documents”Click the Upload or Attach File button to add your receipt or supporting documents:
- Click the upload area or browse button
- Select your receipt image or PDF file
- Wait for the file to upload successfully
- You can upload multiple files if needed
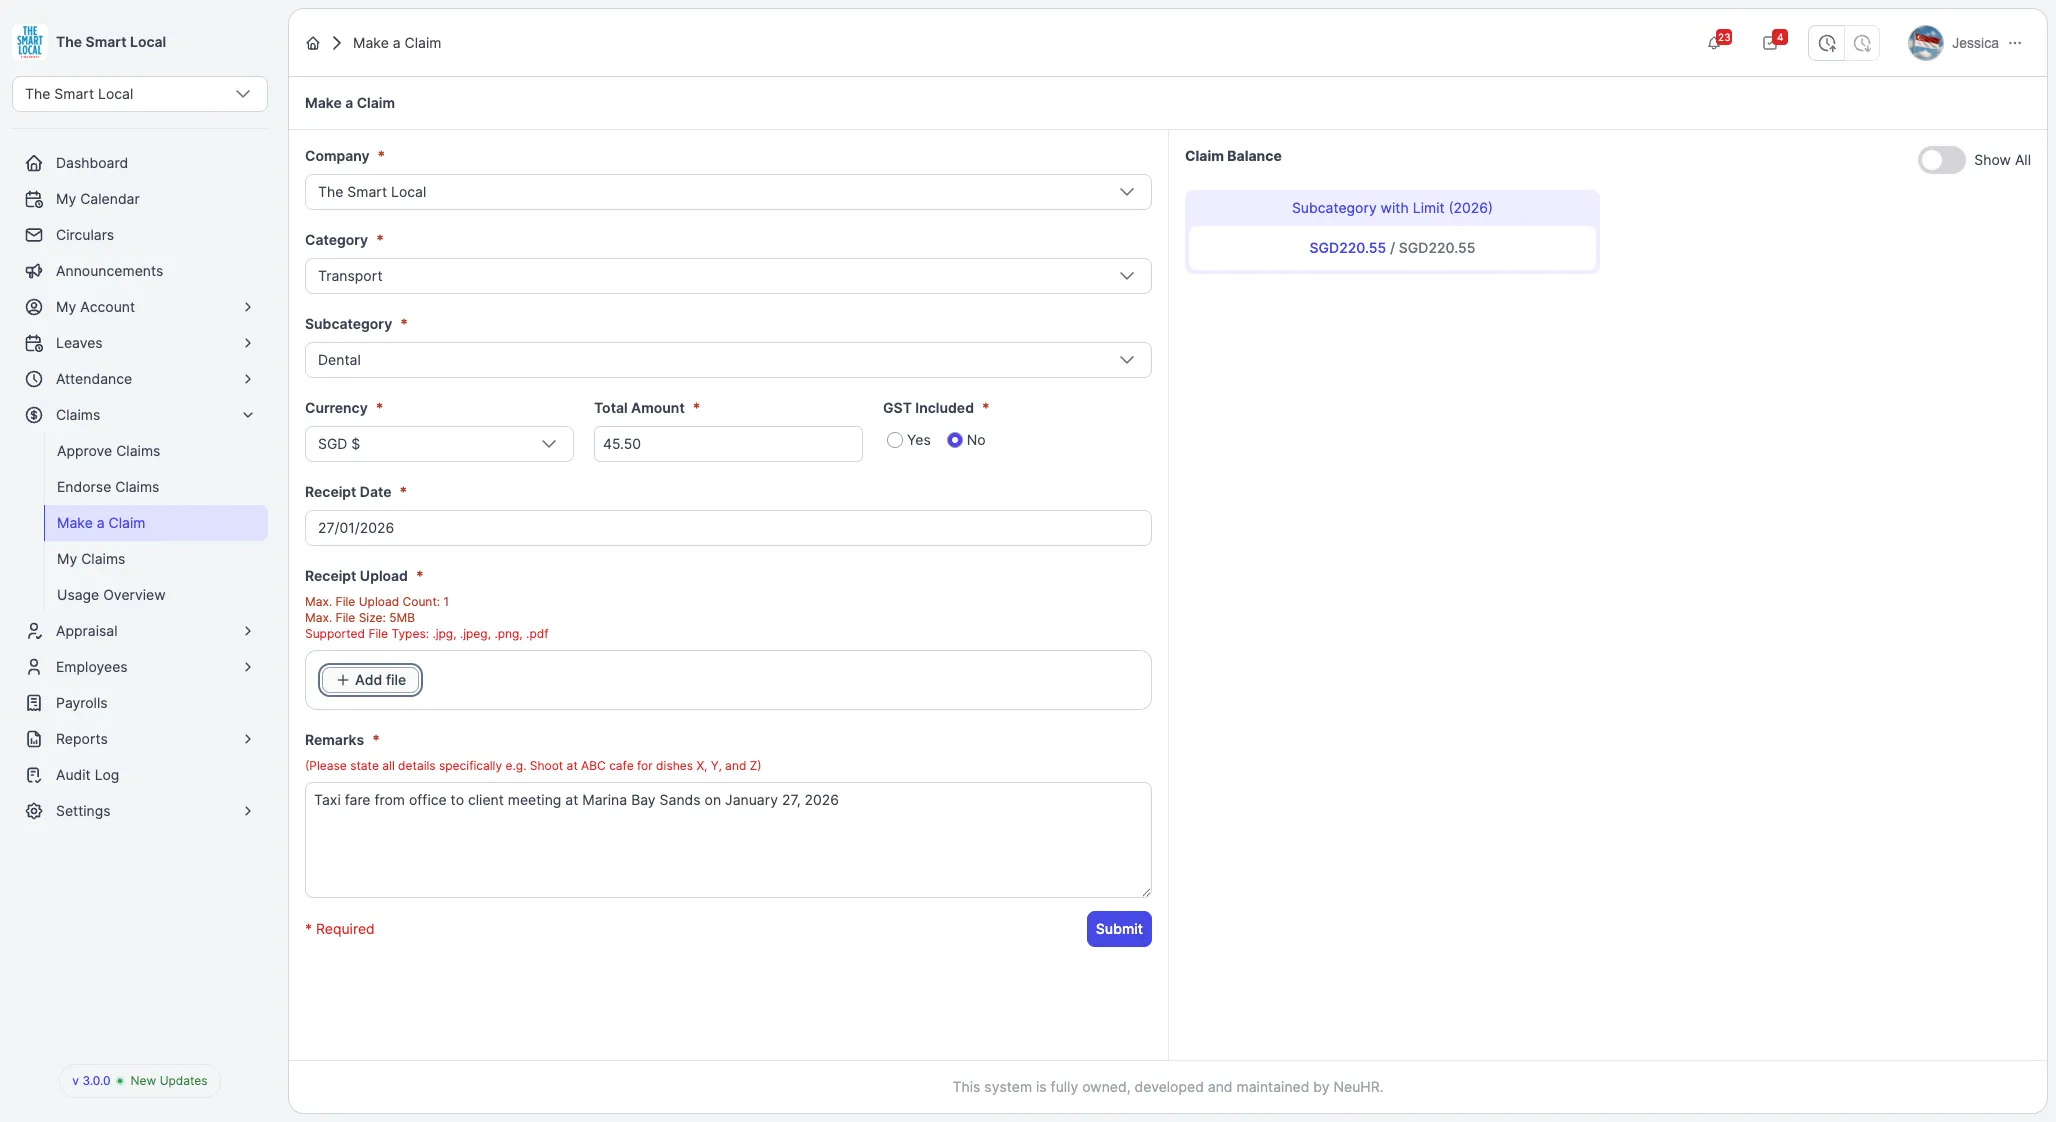
Note: Most companies require receipts for all claims. Accepted formats typically include JPG, PNG, and PDF files. Check with your HR department for specific requirements.
Step 6: Review and Submit Your Claim
Section titled “Step 6: Review and Submit Your Claim”Before submitting:
- Review all entered information for accuracy
- Verify the uploaded documents are clear and readable
- Check that the amount matches your receipt
- Ensure all required fields are filled in
Once everything is correct, click the Submit button.
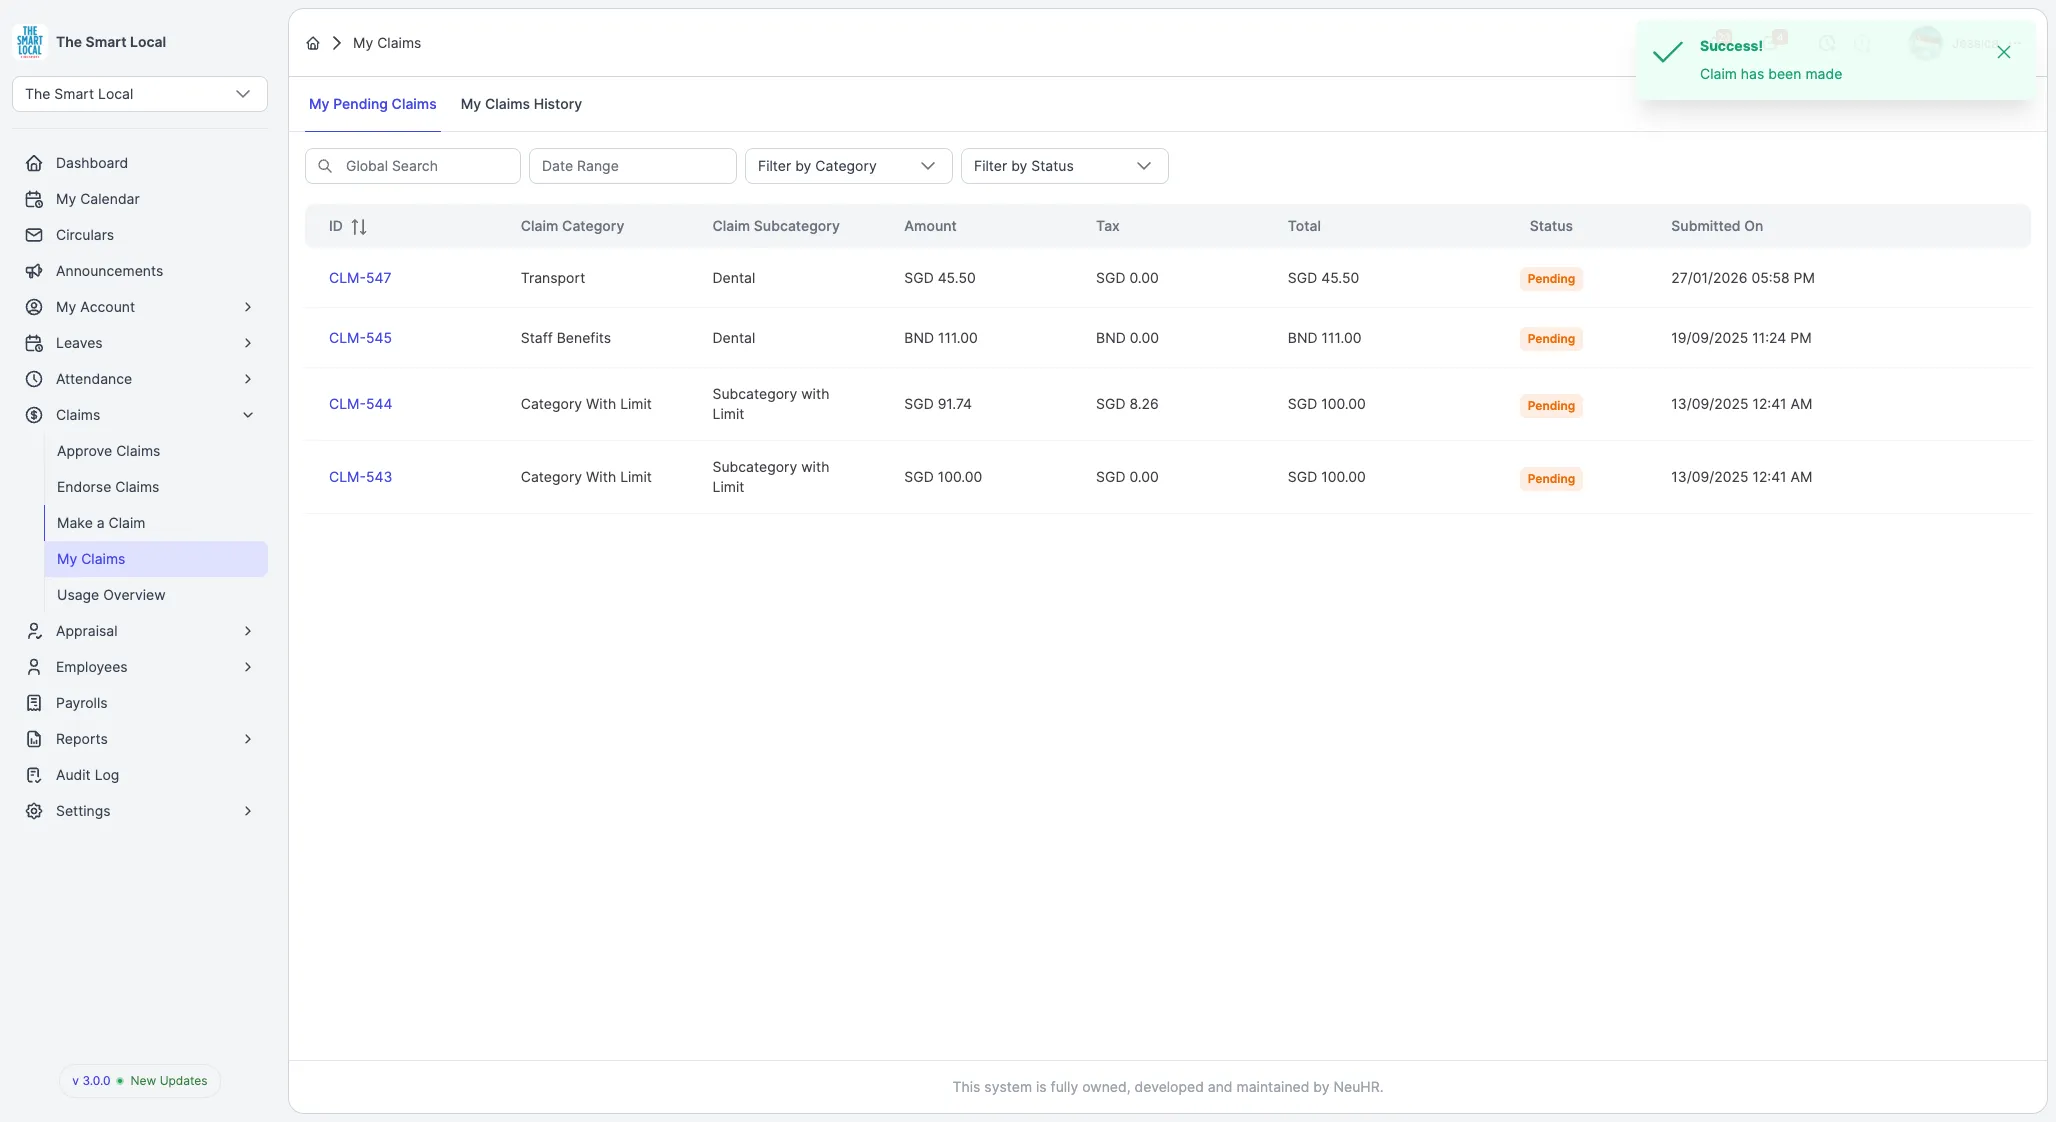
Step 7: Confirmation and Next Steps
Section titled “Step 7: Confirmation and Next Steps”After successful submission, you’ll see a confirmation message and your claim will appear in your claims list with a “Pending” or “Submitted” status.
Your claim will now go through the approval workflow:
- Endorsement - Your direct supervisor or endorser will review it
- Approval - HR or Finance will approve it
- Processing - Payment will be processed
- Completed - Reimbursement will be paid
You can track your claim status from the Claims page and will receive notifications as it progresses through each stage.
Note: The approval process timeline varies by organization. Contact your HR department if you have questions about your claim status.